
The ability to tune your camera specifically to your lenses has been around for sometime, not only on Canon & Nikon DSLR’s but also on medium format bodies like the Phase One 645DF+
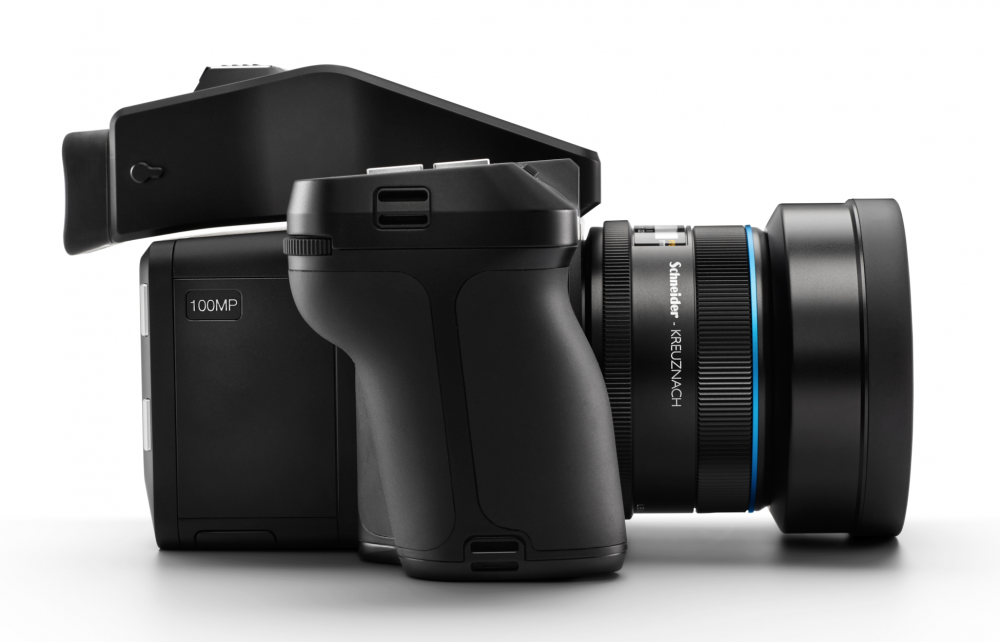
Phase One IQ3 100 & XF Camera: Extreme capability, when used optimally.
The modular design of Phase One cameras and digital backs introduces some variance with where the exact sensor plane of focus is and rather than tweaking those physical distances with shims as thin as .01mm like on an Alpa tech camera, a user definable compensation is factored via electronics.
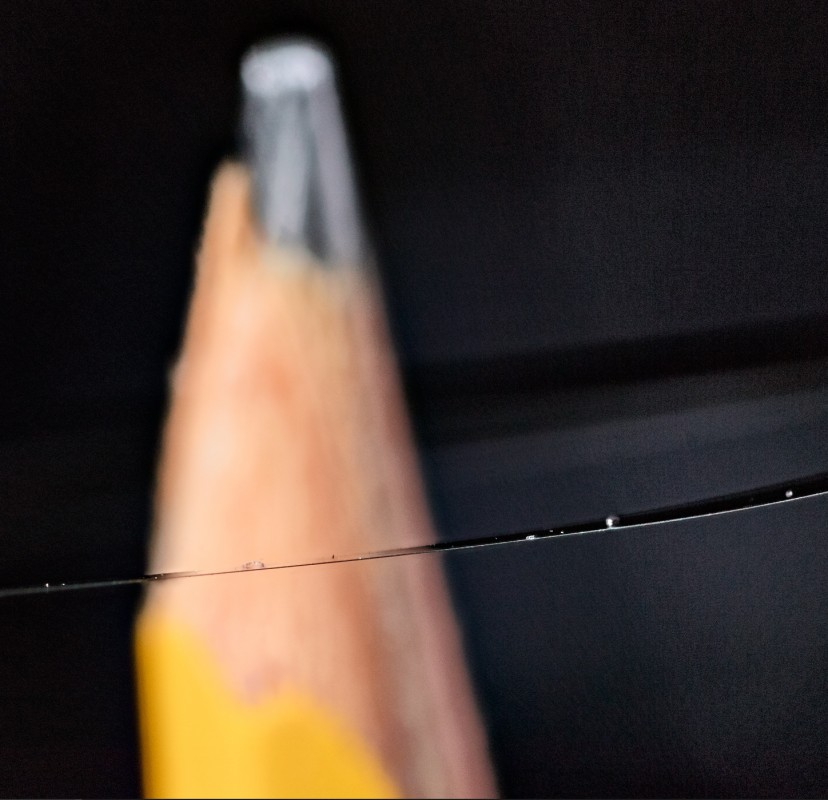
.02mm Shim to tune ALPA tech cameras
In the DF+, focus trim was available through Custom Function #20, but it was a single setting that would apply to any lens attached to the camera. Certainly useful when the camera was consistently back focusing with any glass attached to it, but the single setting had its limitations.
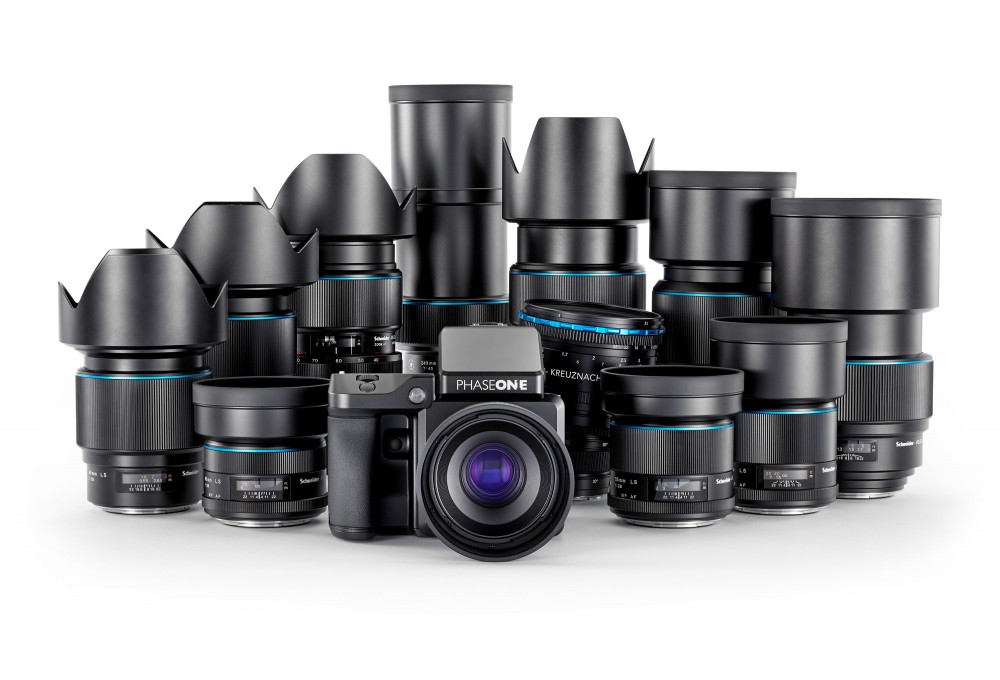
The XF has upped that game by tracking every lens focal length attached to the camera, and in the case of the Schneider Kreuznach ‘Blue Ring’ lenses, each and every serial number is recorded as a unique trim value so multiple copies of the same focal length will have their own perfect calibration.
It has been my experience, however, that the proper trim value overall tends to be a relationship more about a focal length of any copy of a lens to your specific XF body and digital back combination.
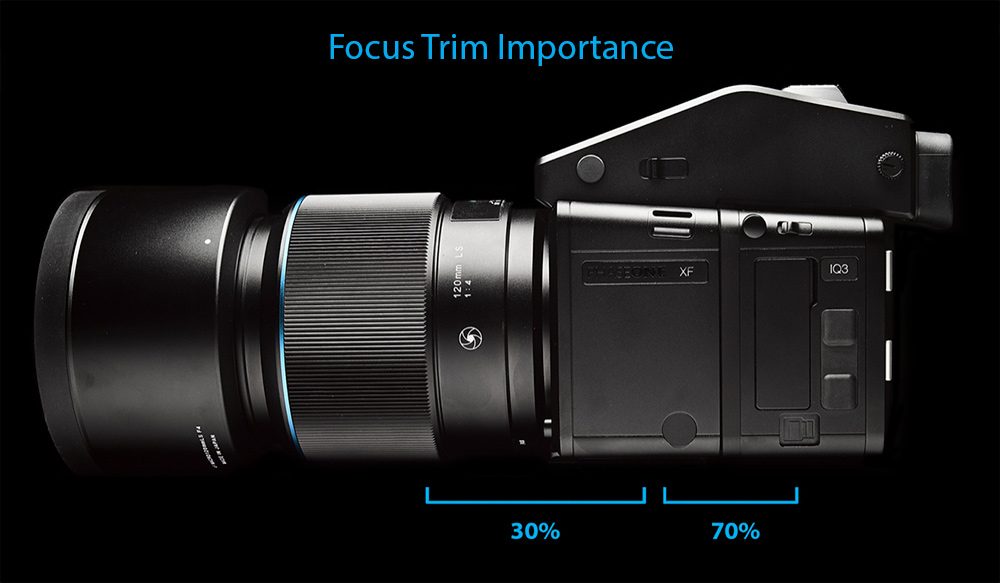
The variance between the body and the digital back mounting along with the physicality of the auto focus system mounting within the camera itself tends to be the variables you’re correcting for and not as much the specific copy of your lens, although there will definitely be a trim difference between lenses. More like %70 body-DB relationship / 30% body-lens relationship for any given focus trim setting.
Depending on that overall relationship and on a specific XF body, I may only have to trim a legacy 80LS a few digits while I trim a new 80LS Blue Ring (with tighter manufacturing tolerances) to a higher trim level on the same body. Not an indication that the Blue Ring is outside of tolerance, but that the XF/Digital Back needed compensation that the older lens made up for arbitrarily.
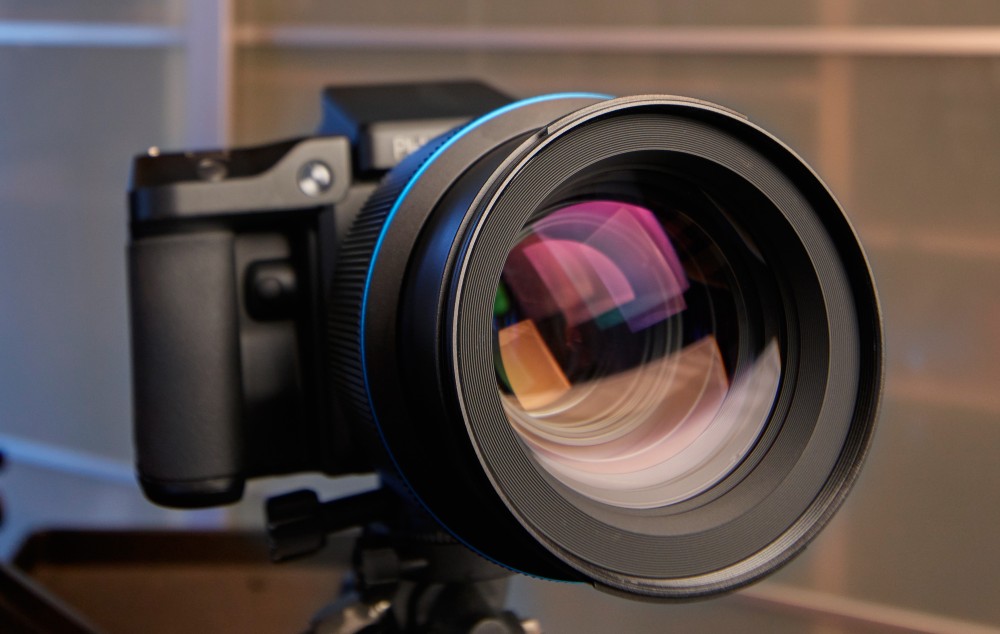
Schneider Kreuznach 150mm 2.8 LS Blue Ring
This leads to a relative clustering of trim values for all the lenses in your kit. I’ve found that it’s likely that the second third and fourth lenses in your kit will fall into the same range of trim on that body and those same lenses will likely fall into a different range on a different body but stay relatively clustered again.
I have not seen an XF yet that didn’t benefit greatly from focus trim. My preference is to evaluate images shot at a medium distance, set trim values there and then test against near and distant values to see if that trim setting holds. This is the quickest route to a perfectly trimmed camera.
Target Selection:
With the advent of the Focus Trim Tool in Feature Update #4, Phase One provides their Focus Tool Target with every new lens and has made available downloadable PDF’s of the same target.

Phase One Focus Trim Tool Chart
While this target is handy, it is still not my preference due to its smaller size (that requires it be closer to the camera) and the lack of nuanced detail to make subjective decisions from.
The target I use in practice is like this one, printed to 13×19 and mounted on foam core.
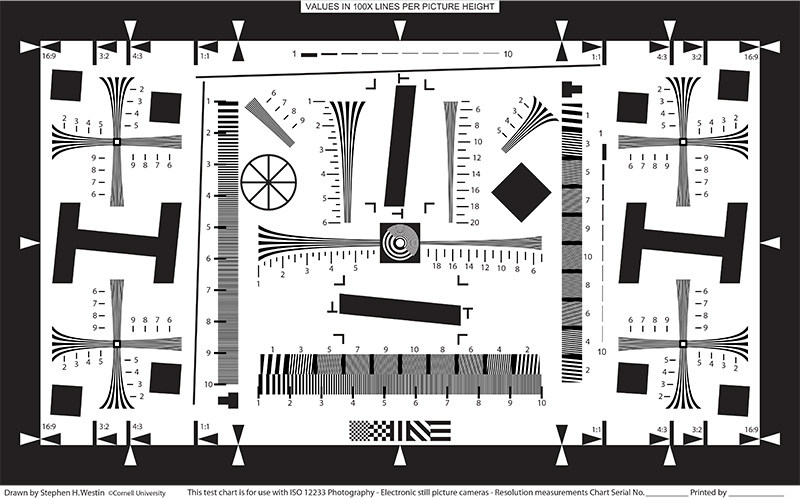
ISO_12233 Chart – http://www.graphics.cornell.edu/~westin/misc/ISO_12233-reschart.pdf
This target provides great detail in different forms in order to best determine focus. (I’ve also added a LensAlign ruler as well)
-Orient target flat to camera, well lit, 10-20’ away depending on focal length, or a
LensAlign Focus Calibration set, although the LensAlign and even the Phase target brings the target much closer to the camera to be able to fill the average autofocus sensor markings in the viewfinder and I’ve found tends to not lend to the most accurate focus trim values for all distances.
The completely flat and detailed portion of the target should entirely fill the focus point indicator in the viewfinder.
I’ve Frankenstein’d a target that has both a large flat area to let the sensor focus on, as well as a the Lens Align Long Ruler to better evaluate which direction the trim settings need to go. 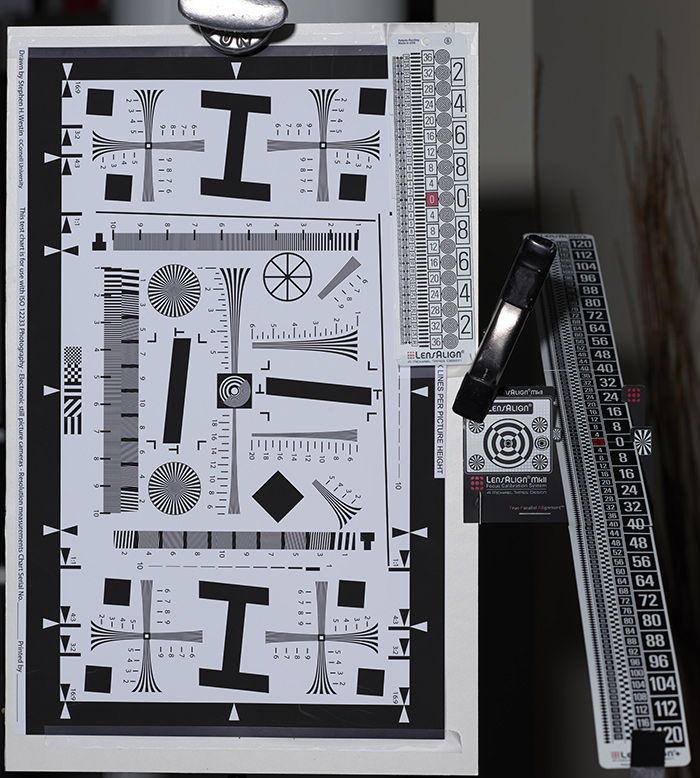
Step 1: Setup
-Camera locked down on tripod
-XF set to Average focus (Only use Spot if your target isn’t large enough for the reticle)
-Autofocus Mode – Continuous
-Shutter FPS or LS Priority (ES Cannot be used in this exact process)
-If Shooting from the Camera Autofocus set to Rear Button / Shutter – 1/2 press autofocus turned off
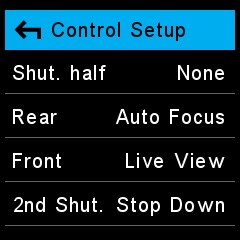
–Recommended Workflow: Make use of the new Focus Trim Tool while tethered to a Capture One session to make use of Live View on screen to aid in determining the best focus. (Easiest on CMOS technology backs, CCD owners may prefer to shoot images to compare focus)
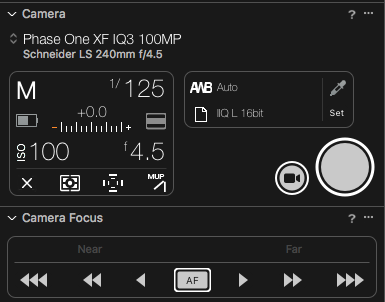
-Base/Low ISO for best file clarity.
-Vibration Delay ON
-Aperture set to maximum open / Zooms set to longest focal length
-Ideal environment is tethered to workstation running Capture One where you can evaluate the images at 100%-400% on screen at the moment you capture them.
Step 2: Establish the Autofocus Baseline for the lens
-Autofocus on target, and hold down on the autofocus button for a second or two to make sure that the XF has settled and is no longer correcting. In Capture One, you will see the focus arrows settle on either side of the AF button.
-Capture Image (Compare Variant #1 of 3 that you will record in this process)
-Tap the triple left or right manual motor engagement mark in Capture One to rotate the focus away from where the autofocus settled on the previous exposure.
Step 3: Test your Focus Trim Test Environment
Repeat Step #3 2-3 times to make sure the focus is landing in exactly the same spot every time with no other changes. Use your keyboard arrows to toggle between images. If you see changes between the shots, make sure that the focus reticle fully falls within the boundaries of your target and that the target is exactly square to camera.
Step 4: Enable Access to the Focus Trim Tool
If trimming only one lens, go to XF Menu–> Tools and scroll down to ‘Focus Trim’
If trimming multiple lenses, go to XF Menu–> UI Setup –>Tools Enabled and toggle Focus Trim to On.
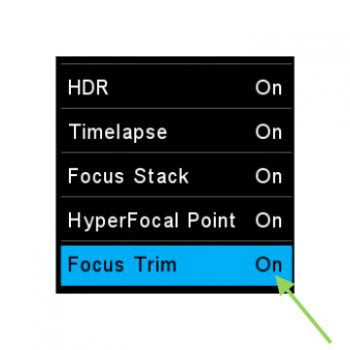
Step 5: With the Tool on screen, Start Tool
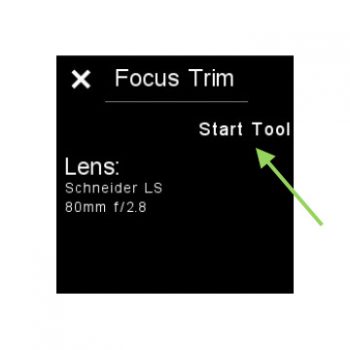
Step 6: Tap on the Live View icon to activate Live View on the digital back (or better yet, activate Live View from a tethered Capture One computer) and adjust the focus position of the lens by using the wheels on the XF body or by using the Focus panel in Live View in Capture One. Exit Live View by closing the Capture One window or by tapping the same button on the XF.
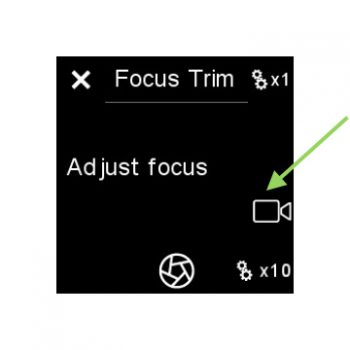
(TIP: Because of the necessary slack in the autofocus motor gearing, every time you reverse direction when honing in on the perfect focus via the camera dials or the Camera Focus tool in Capture One, variability in your final focus trim value will be induced, potentially reducing the level of refinement of the tune. If possible, move focus only in the direction from pre-trim to perfect focus in one direction, trying not to overshoot the focus point. If you find you have danced around back and forth too much, use that session only as information gathering so that you know what perfect focus looks like, close out of the tool, clear the autofocus and start over, knowing better what direction you have to move to achieve perfect focus.)
Step 7: Press ‘Start Trim’ The XF will now measure whether a reliable focus can be obtained.
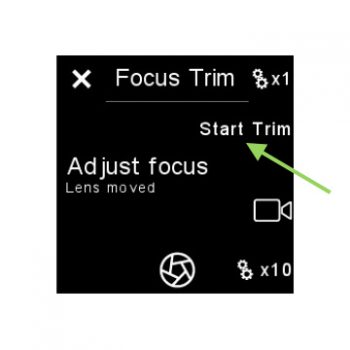
Step 8: Capture a frame from the rear button with shutter symbol indicated on display. (Compare Variant #2 of 3 that you will record in this process)
Step 9: SAVE the trim into the camera.
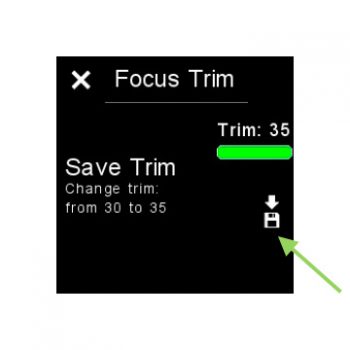
If you forget to save before exiting the tool but remember the number it produced, you can enter the number manually under XF Menu–> Capture Setup–> Focus Trim.
Step 10: Clear the current autofocus position by focusing on your hand or by clicking the arrows in the Camera Focus tool in Capture One, autofocus again on the target and capture another frame. (Compare Variant #3 of 3 that you will record in this process)
Compare the pre-trim shot to the 2nd shot to the 3rd shot. If the 2nd shot has better focus than the 3rd shot, it’s likely that the some variability was induced by too many direction changes while tuning and you’ll need to start the tool over again to refine in, or adjust the focus trim value manually by +/- 10 and shooting single shots using the Alternative Trim Method that follows.
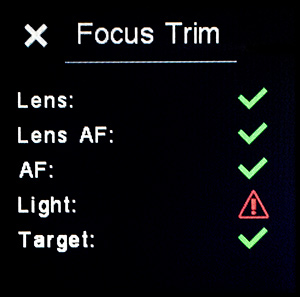
Don’t worry if the Focus Trim Tool reports an error when you first start the tool. It’s pretty typical to receive an error in either ‘Light:’ or ‘Target:’ and if you clear the dialog by tapping the upper left ‘X’ you can start trimming as normal. Not to say you should ignore these warnings… if you can cast more light on the target, then by all means do so, but I very typically get the warning on the Target line because I trim at a greater distance than is specified in the Phase One procedure and often get the ‘Light’ error and still get very accurate results.
Step 11: Confirm trim value with target closer and farther than initial distance
Repeat the process for each lens in your kit
Alternative Process for Focus Trimming w/o the Focus Trim Tool
(if Live View on CCD backs proves too problematic to see clearly enough to make focus decisions on)
Step 1: Gross Focus Trim
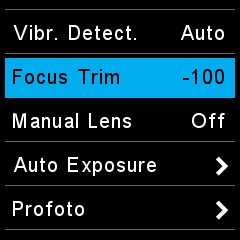
-Go to XF menu from lower silver button on top of XF, navigate to:
Capture Setup—>Focus Trim and adjust by 100 in the direction observed between the reference image and the first autofocus image. Negative 100 if the autofocus falls in back of the target, Positive 100 if the focus falls in front of the target. (Some will recommend moving in 25 step increments but I’ve routinely applied focus trim values above 100 and so would rather risk overshooting my value and drawing back, than moving forward in too small of an increment and making the process that much longer. Note: Overall Focus Trim values are of smaller total numbers since Feature Update #4 and where lenses routinely accepted at least 100 of negative trim, most often are below 100. I still prefer to make a bold move in one direction, potentially overshooting my target, but that will better demonstrate the operating range of numbers you need to refine within)
– Drop your hand or a card in front of the camera and engage autofocus to reset it from its last engagement, then autofocus on the target again.
– Continue previous two steps shot to shot, adjusting by 100 until you clearly go past the target in the direction you had been adjusting.
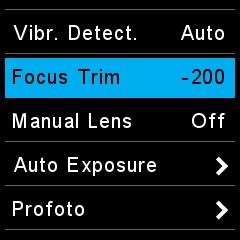
Step 2: Fine Focus Trim
– Find the two 100-increment shots that show the range of appropriate focus that the lens should fall into
– Shoot an increment of Focus Trim change at values of 20 in between those two points.
– Evaluate images one at a time or shoot 5 in a row, although if shooting the bracket to evaluate, it helps to use a scribble pad that has your frame number and your trim value. (Capture One currently doesn’t display the focus trim value attached to any given image, although this has been requested as a feature)
Step 3: Refined Focus Trim
-Find the 20 increment shots that show best focus and change the value by 10’s and then 5’s until you settle on the perfect focus.