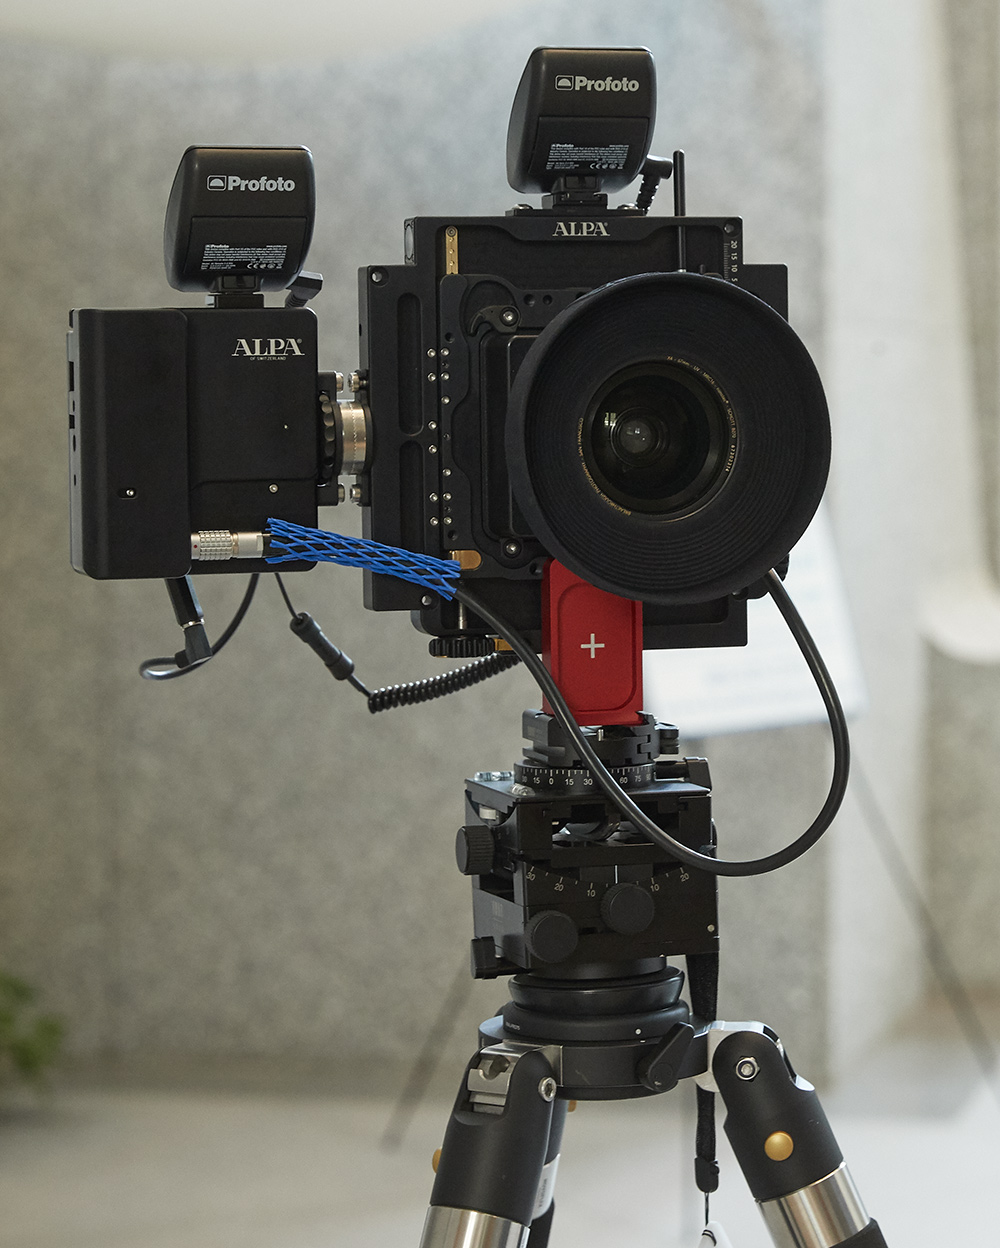
ALPA 12 Plus / Rodenstock 50HR e-Shutter 250/ Silex Mk II
The methodology of Light Painting exists in various forms for photographers. It can be used in the studio or out on location, and can be produced from constant lighting like a flashlight, a Hosemaster, a LED panel or a strobe modeling light in an umbrella or soft-box. (one of my favorites, see my When 150mp isn’t Enough blog for the subtle light painting down the firetruck in the final shot to produce rounded highlights in the chrome)
Light painting can also be produced from a strobe source to pop extra light into a portion of your scene to bring up light in an area where it would otherwise be impossible to hide a light if captured as a single shot image, necessitating multiple captures at the scene and retouching back in the studio to produce the final image. Utilizing the power of the strobe gives you great capabilities to maintain the same ambient exposure for proper scene continuity and then pop in the extra light needed specifically where it’s needed, using only the portion of that frame where your spot lighting is relevant in the final retouch.
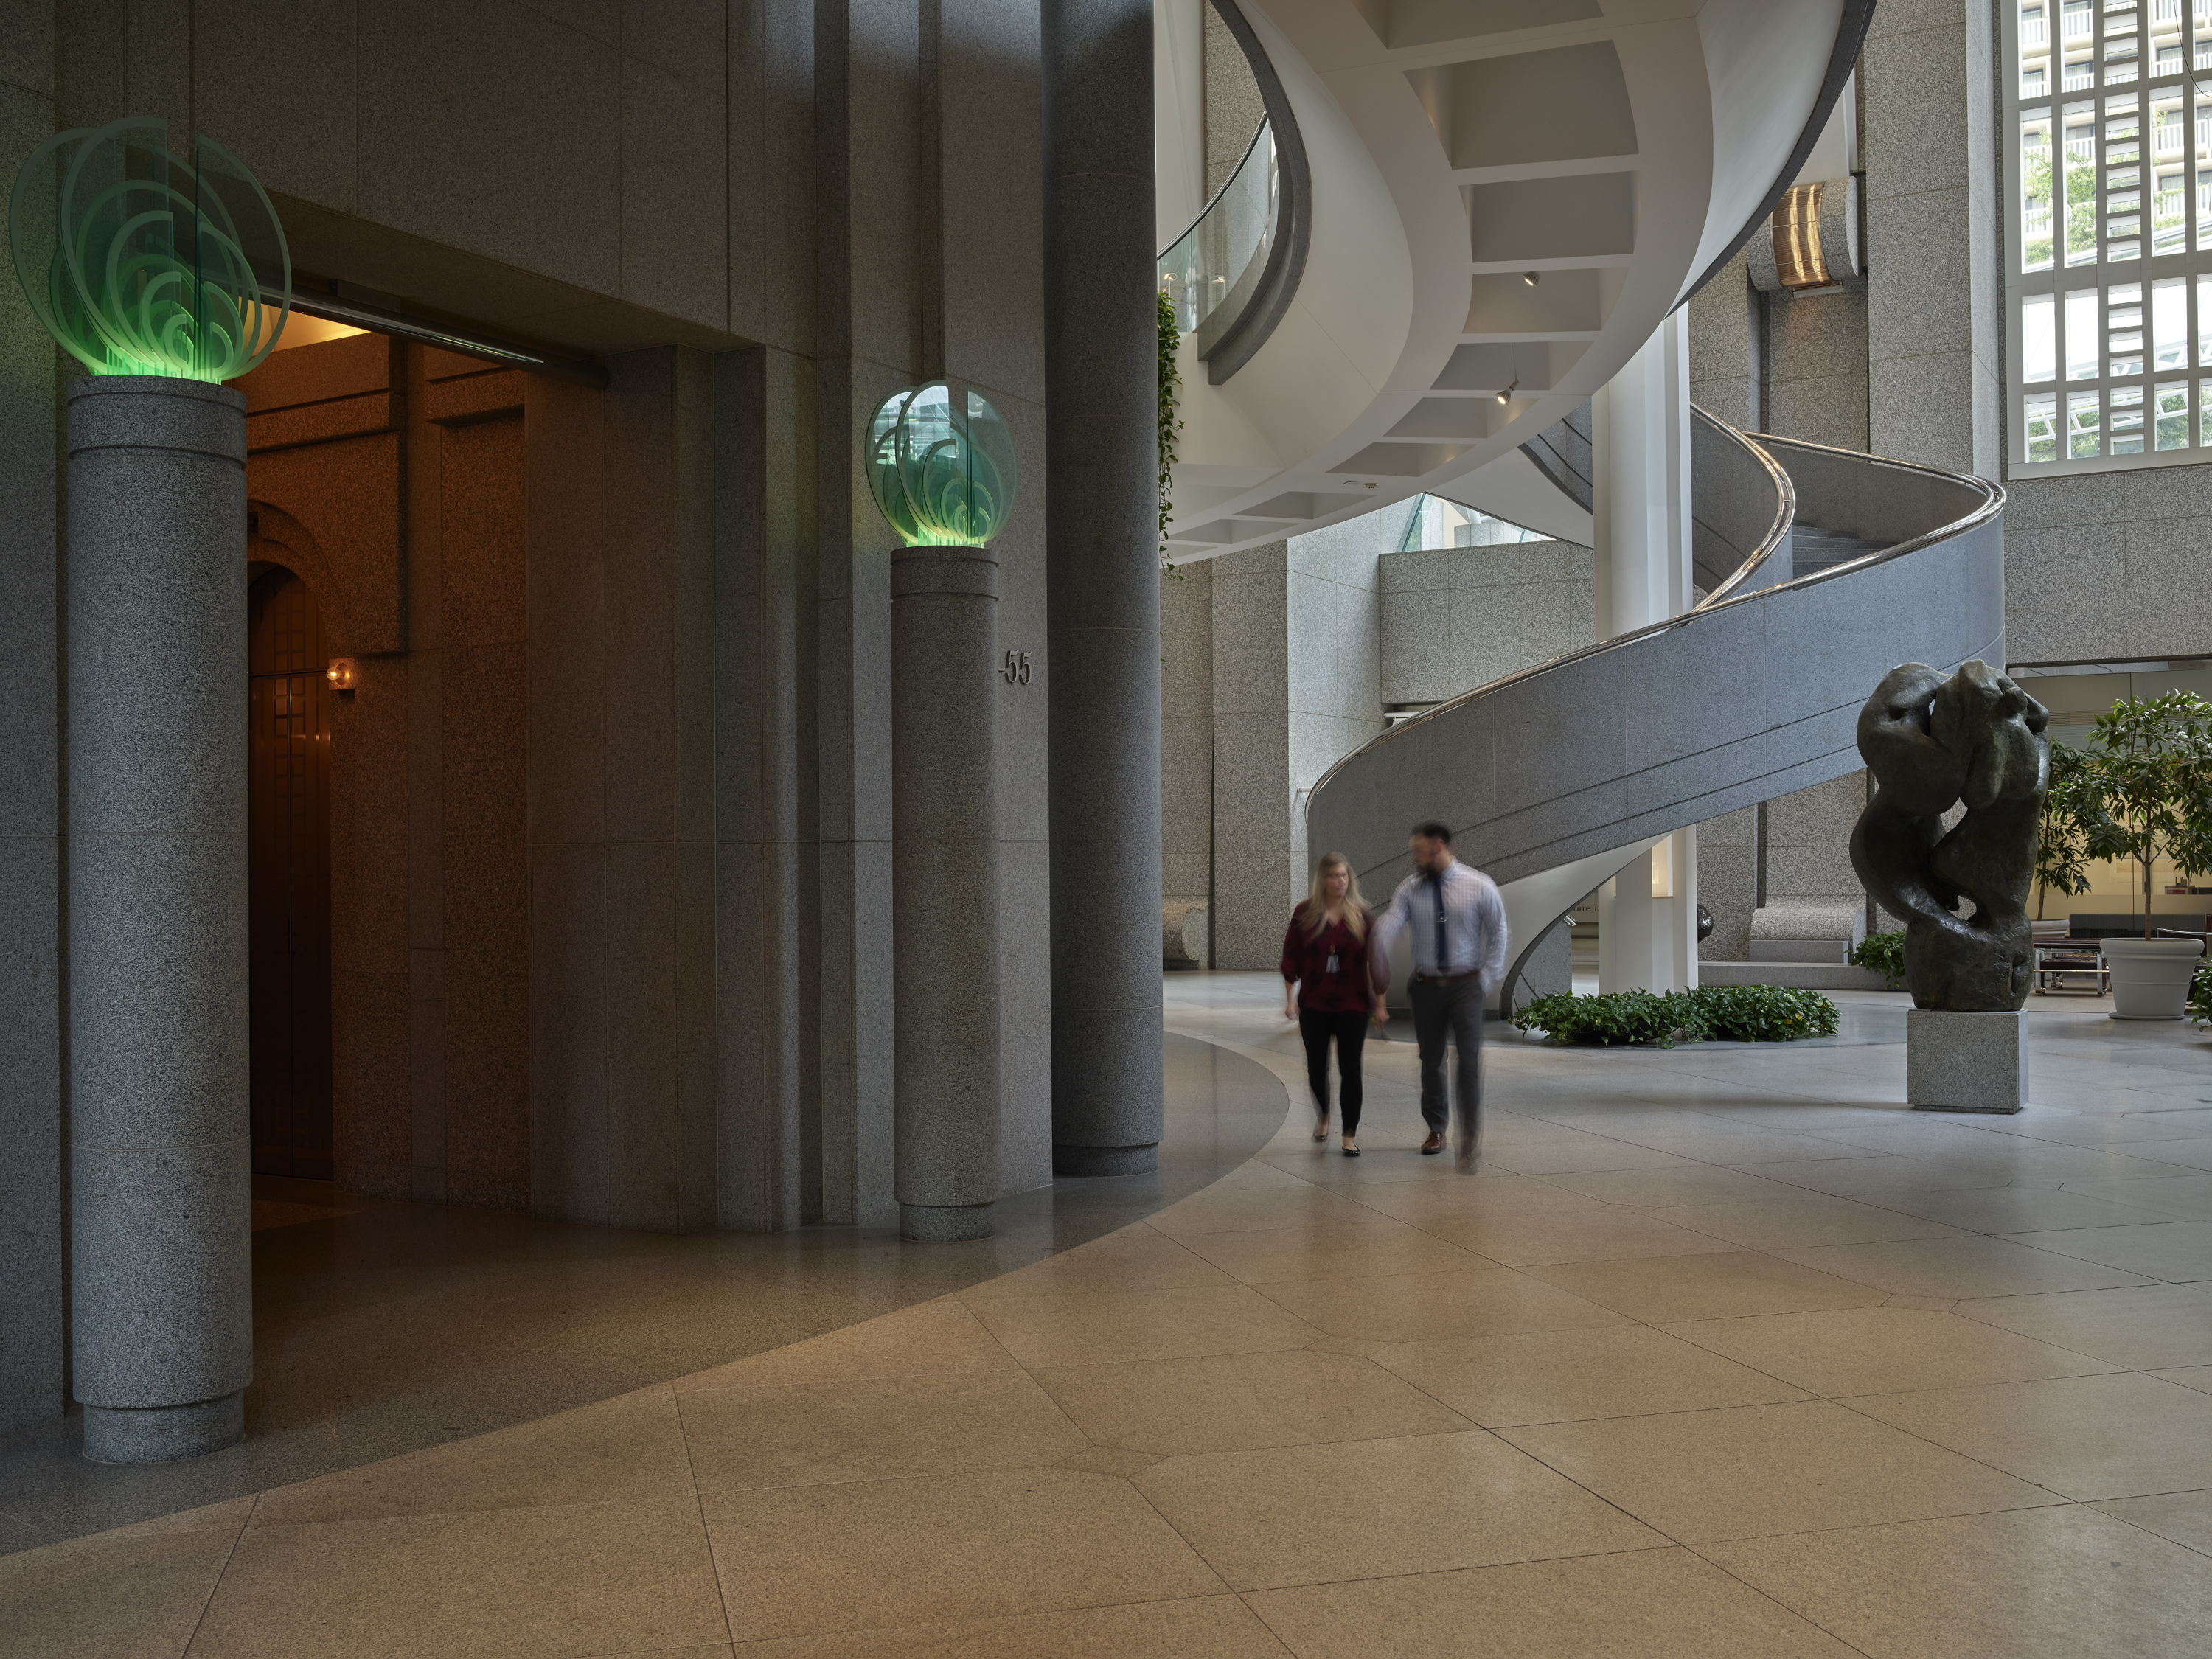
Elevator Lobby feels like a cave, with ambient light based on the daylight exposure value
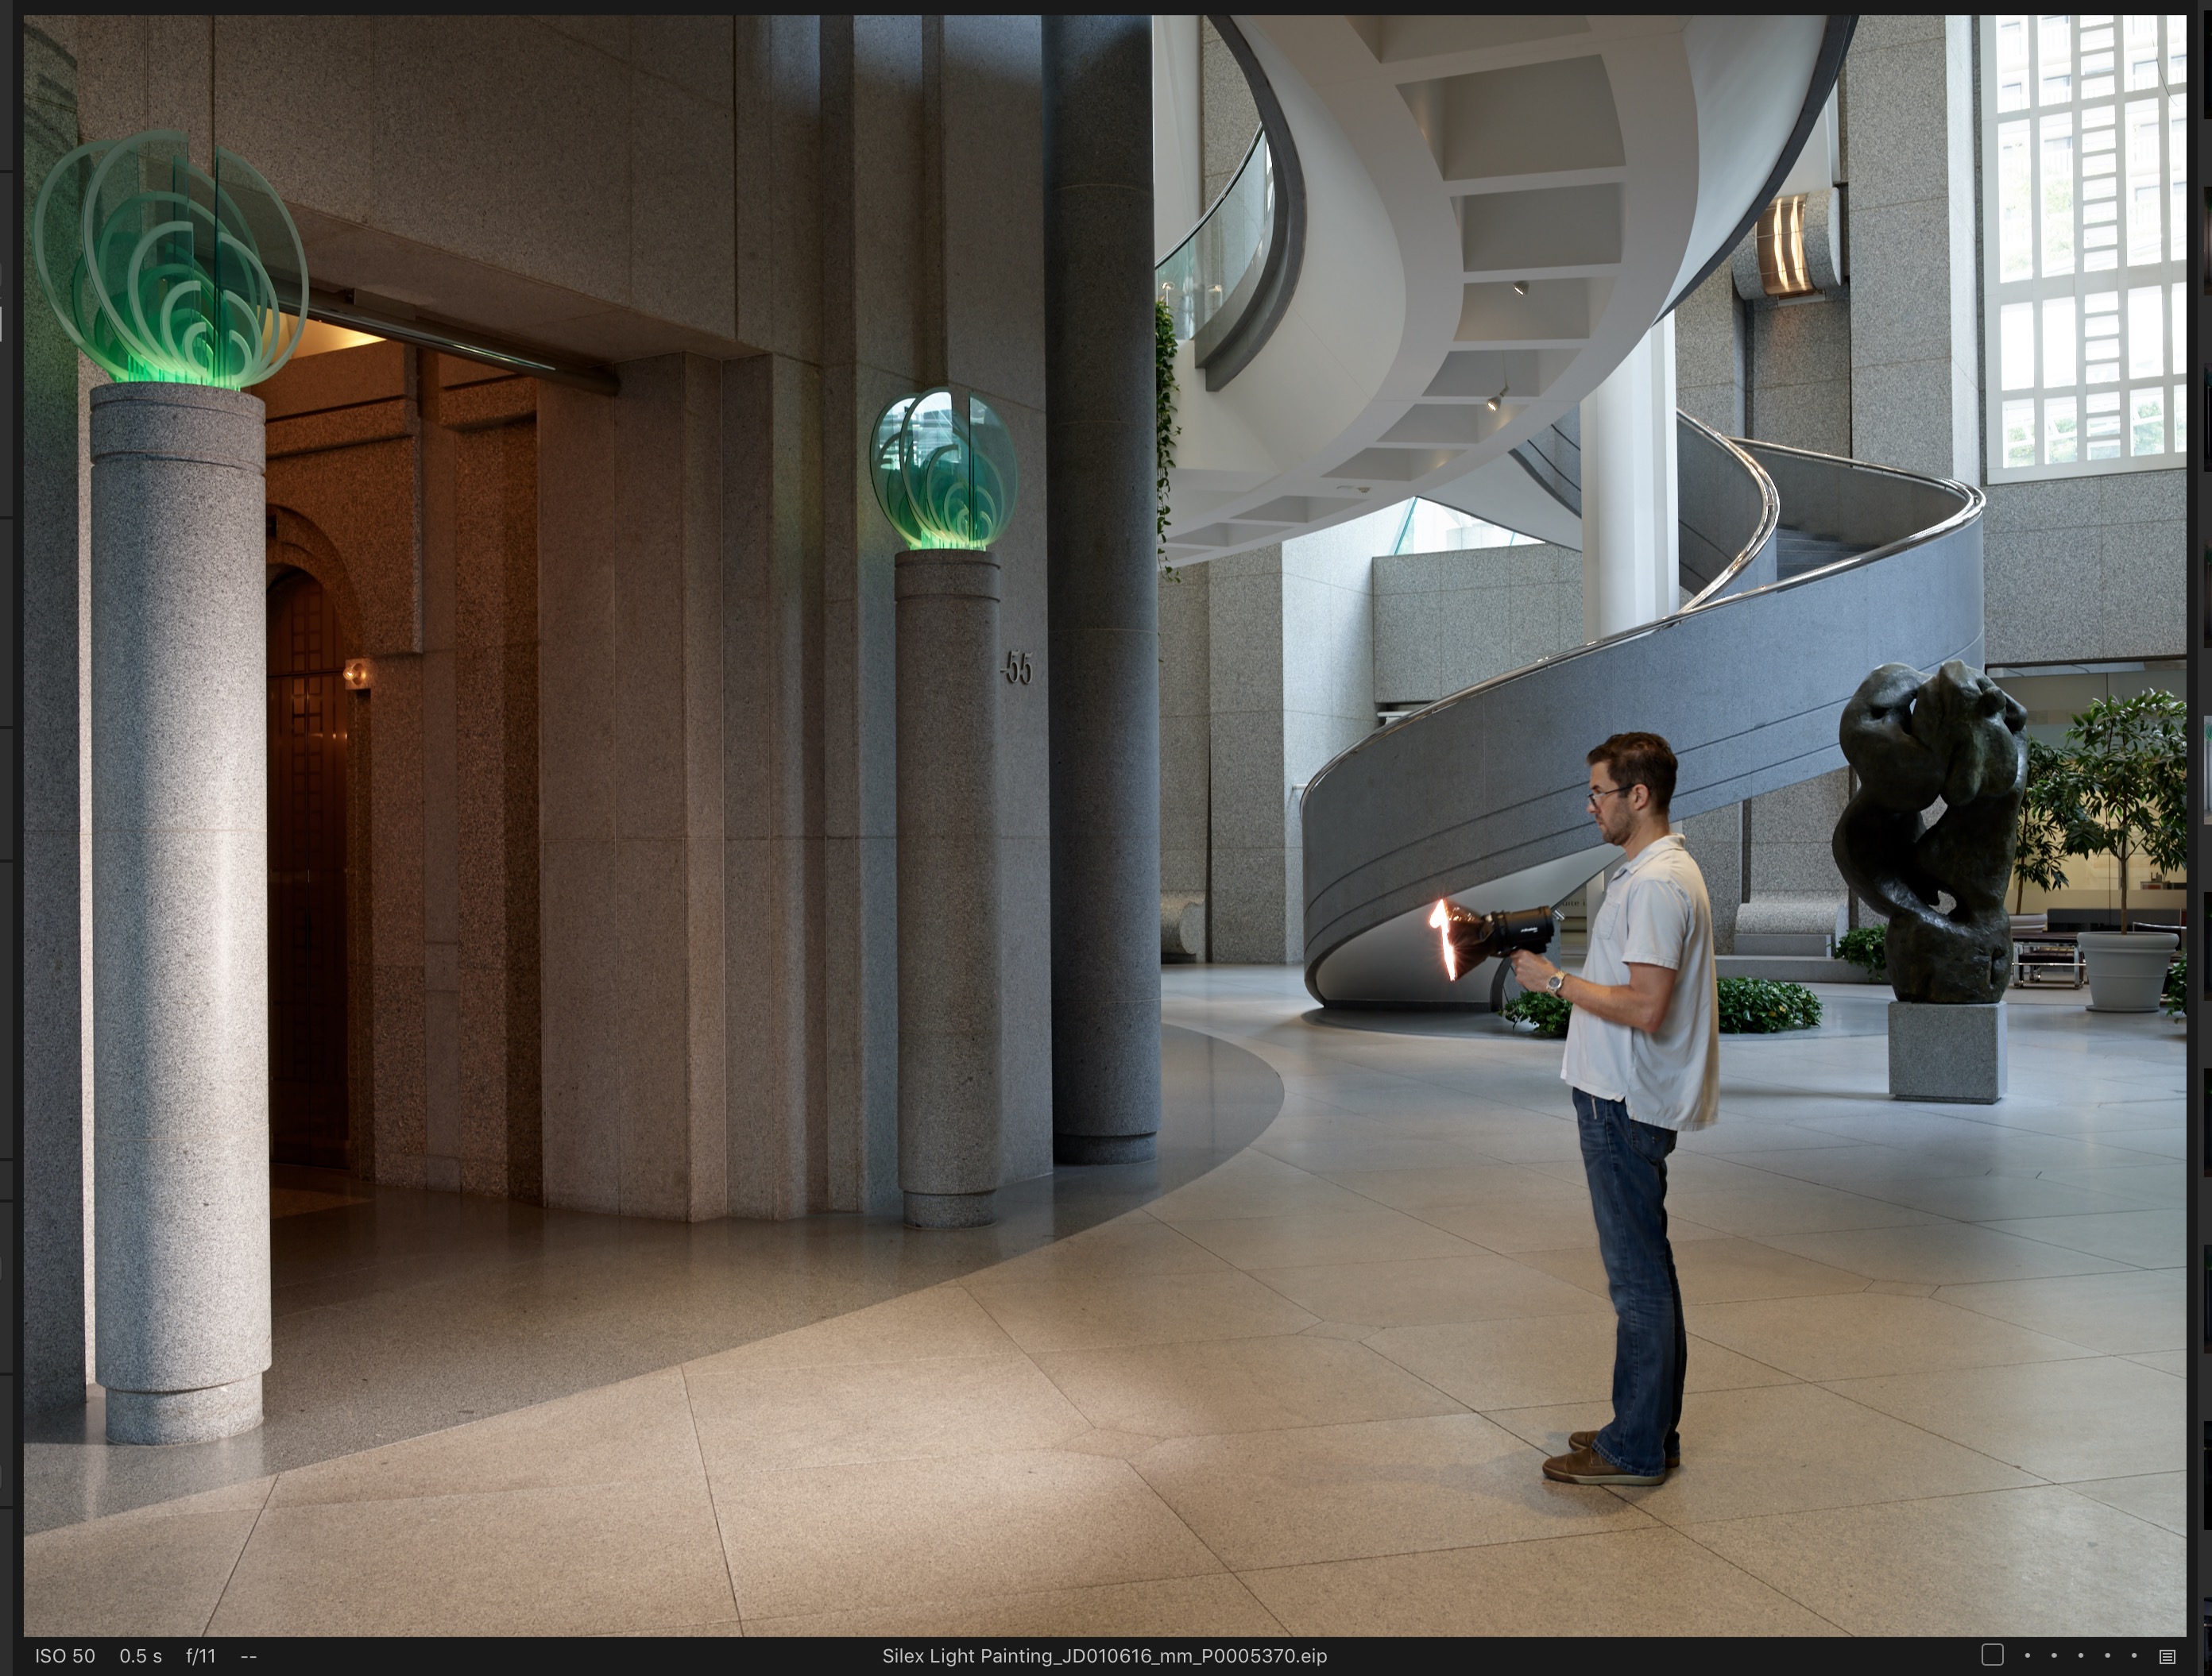
Single Pop of Profoto B10 with 1/2 CTO
This technique, however, can produce massively large layered files in Photoshop as you’ve exported each and every single pop of your strobe as a layer, counting layers sometimes by the dozens to pepper in the light pops from the various exposures. As we are now at 150 megapixels in the Phase One digital backs, the combination of multiple layers can lead to latency on even the fastest of machines. (there’s likely to be very little latency on the new cheese grater, but man, are you going to have to $PAY$ for that speed)
Beyond the issue of latency, there’s also the mental space that resides between your ears that has to organize and keep track of the layers and their individual layer masks for a light painting project, which regardless of computational processing bandwidth can create buffer overflows in your head that late day coffee can’t entirely compensate for.
In the lobby scene above, I needed 7 individual strobe pops to light the interior and exterior of the elevator entryway. (I didn’t have time to capture the entire series of individual shots for this blog as me and my trusty assistant ‘The Fengster’ were asked to leave the lobby because an easily triggered property manager decided that the flashing lights might lead people to think there was a fire alarm. Yep, that happened.)
I often work as a one-man show on location, so anything to make my life easier ultimately leads to shots being more successful, or at least, consistently successful. This article isn’t at all about the art or mastery of light painting, rather, how the ALPA Silex Mk II can aid in that craft, making file organization and post processing easier. (If you want to raise your game in the arena of Light Painting architecturally, consider signing up for the next Barry Grossman workshop, he is a master within this field)
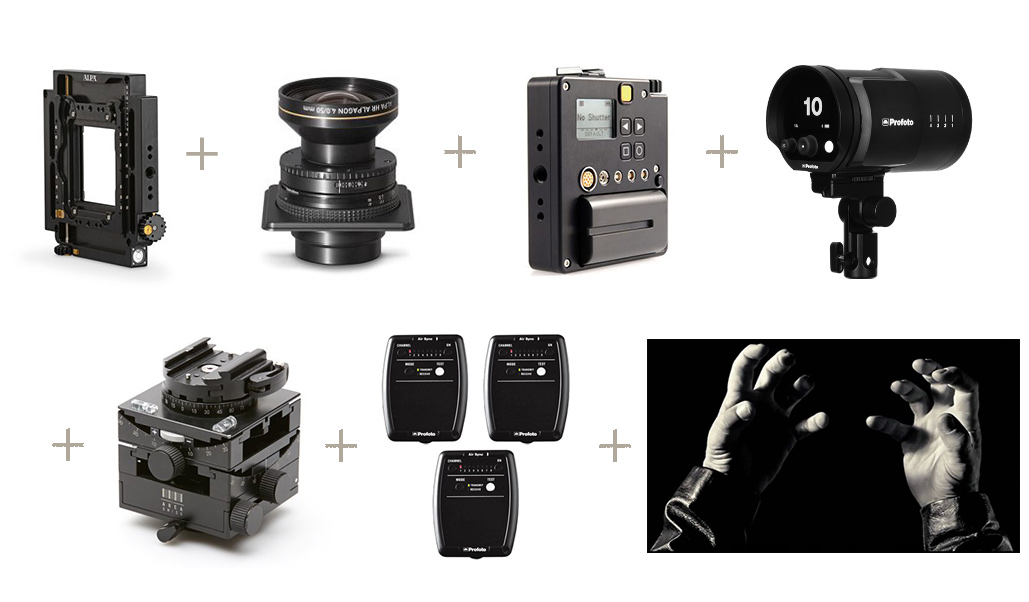
ALPA 12+, 50HR (e-shutter 250), Silex, B10, Arca Swiss Cube, 3 Radios & my Mitts
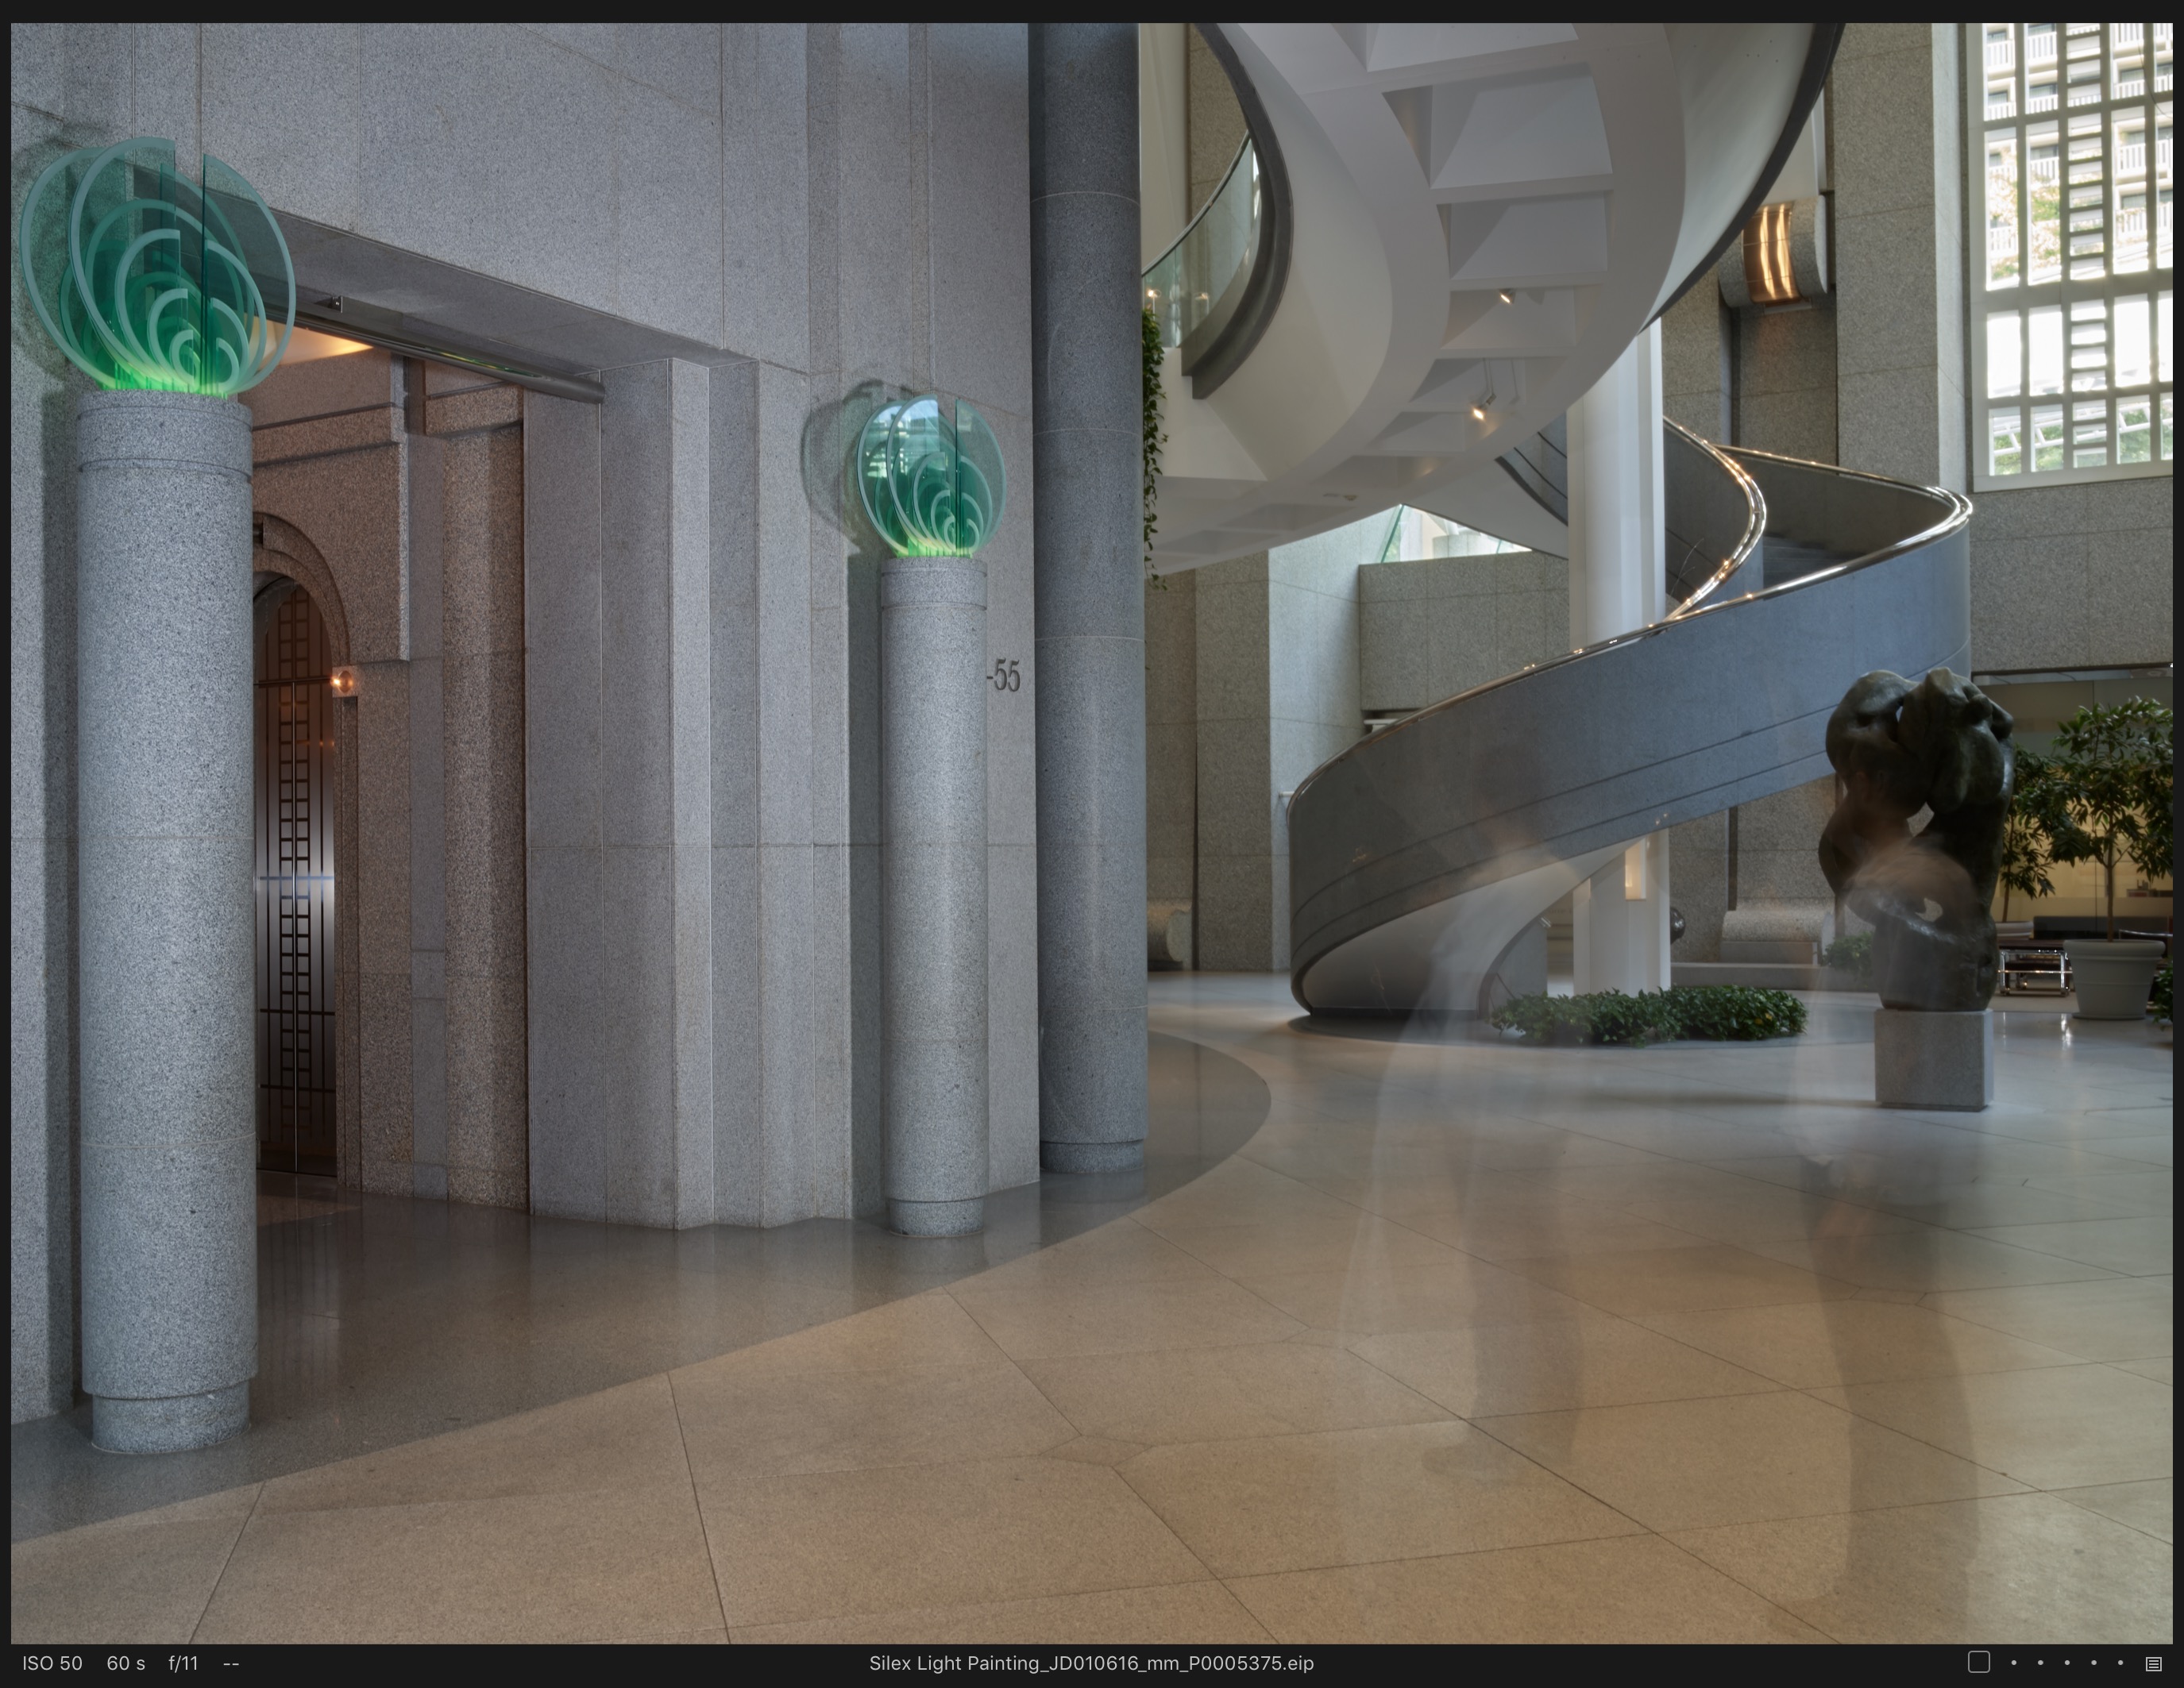
7-shot Light Painting with the ALPA Silex
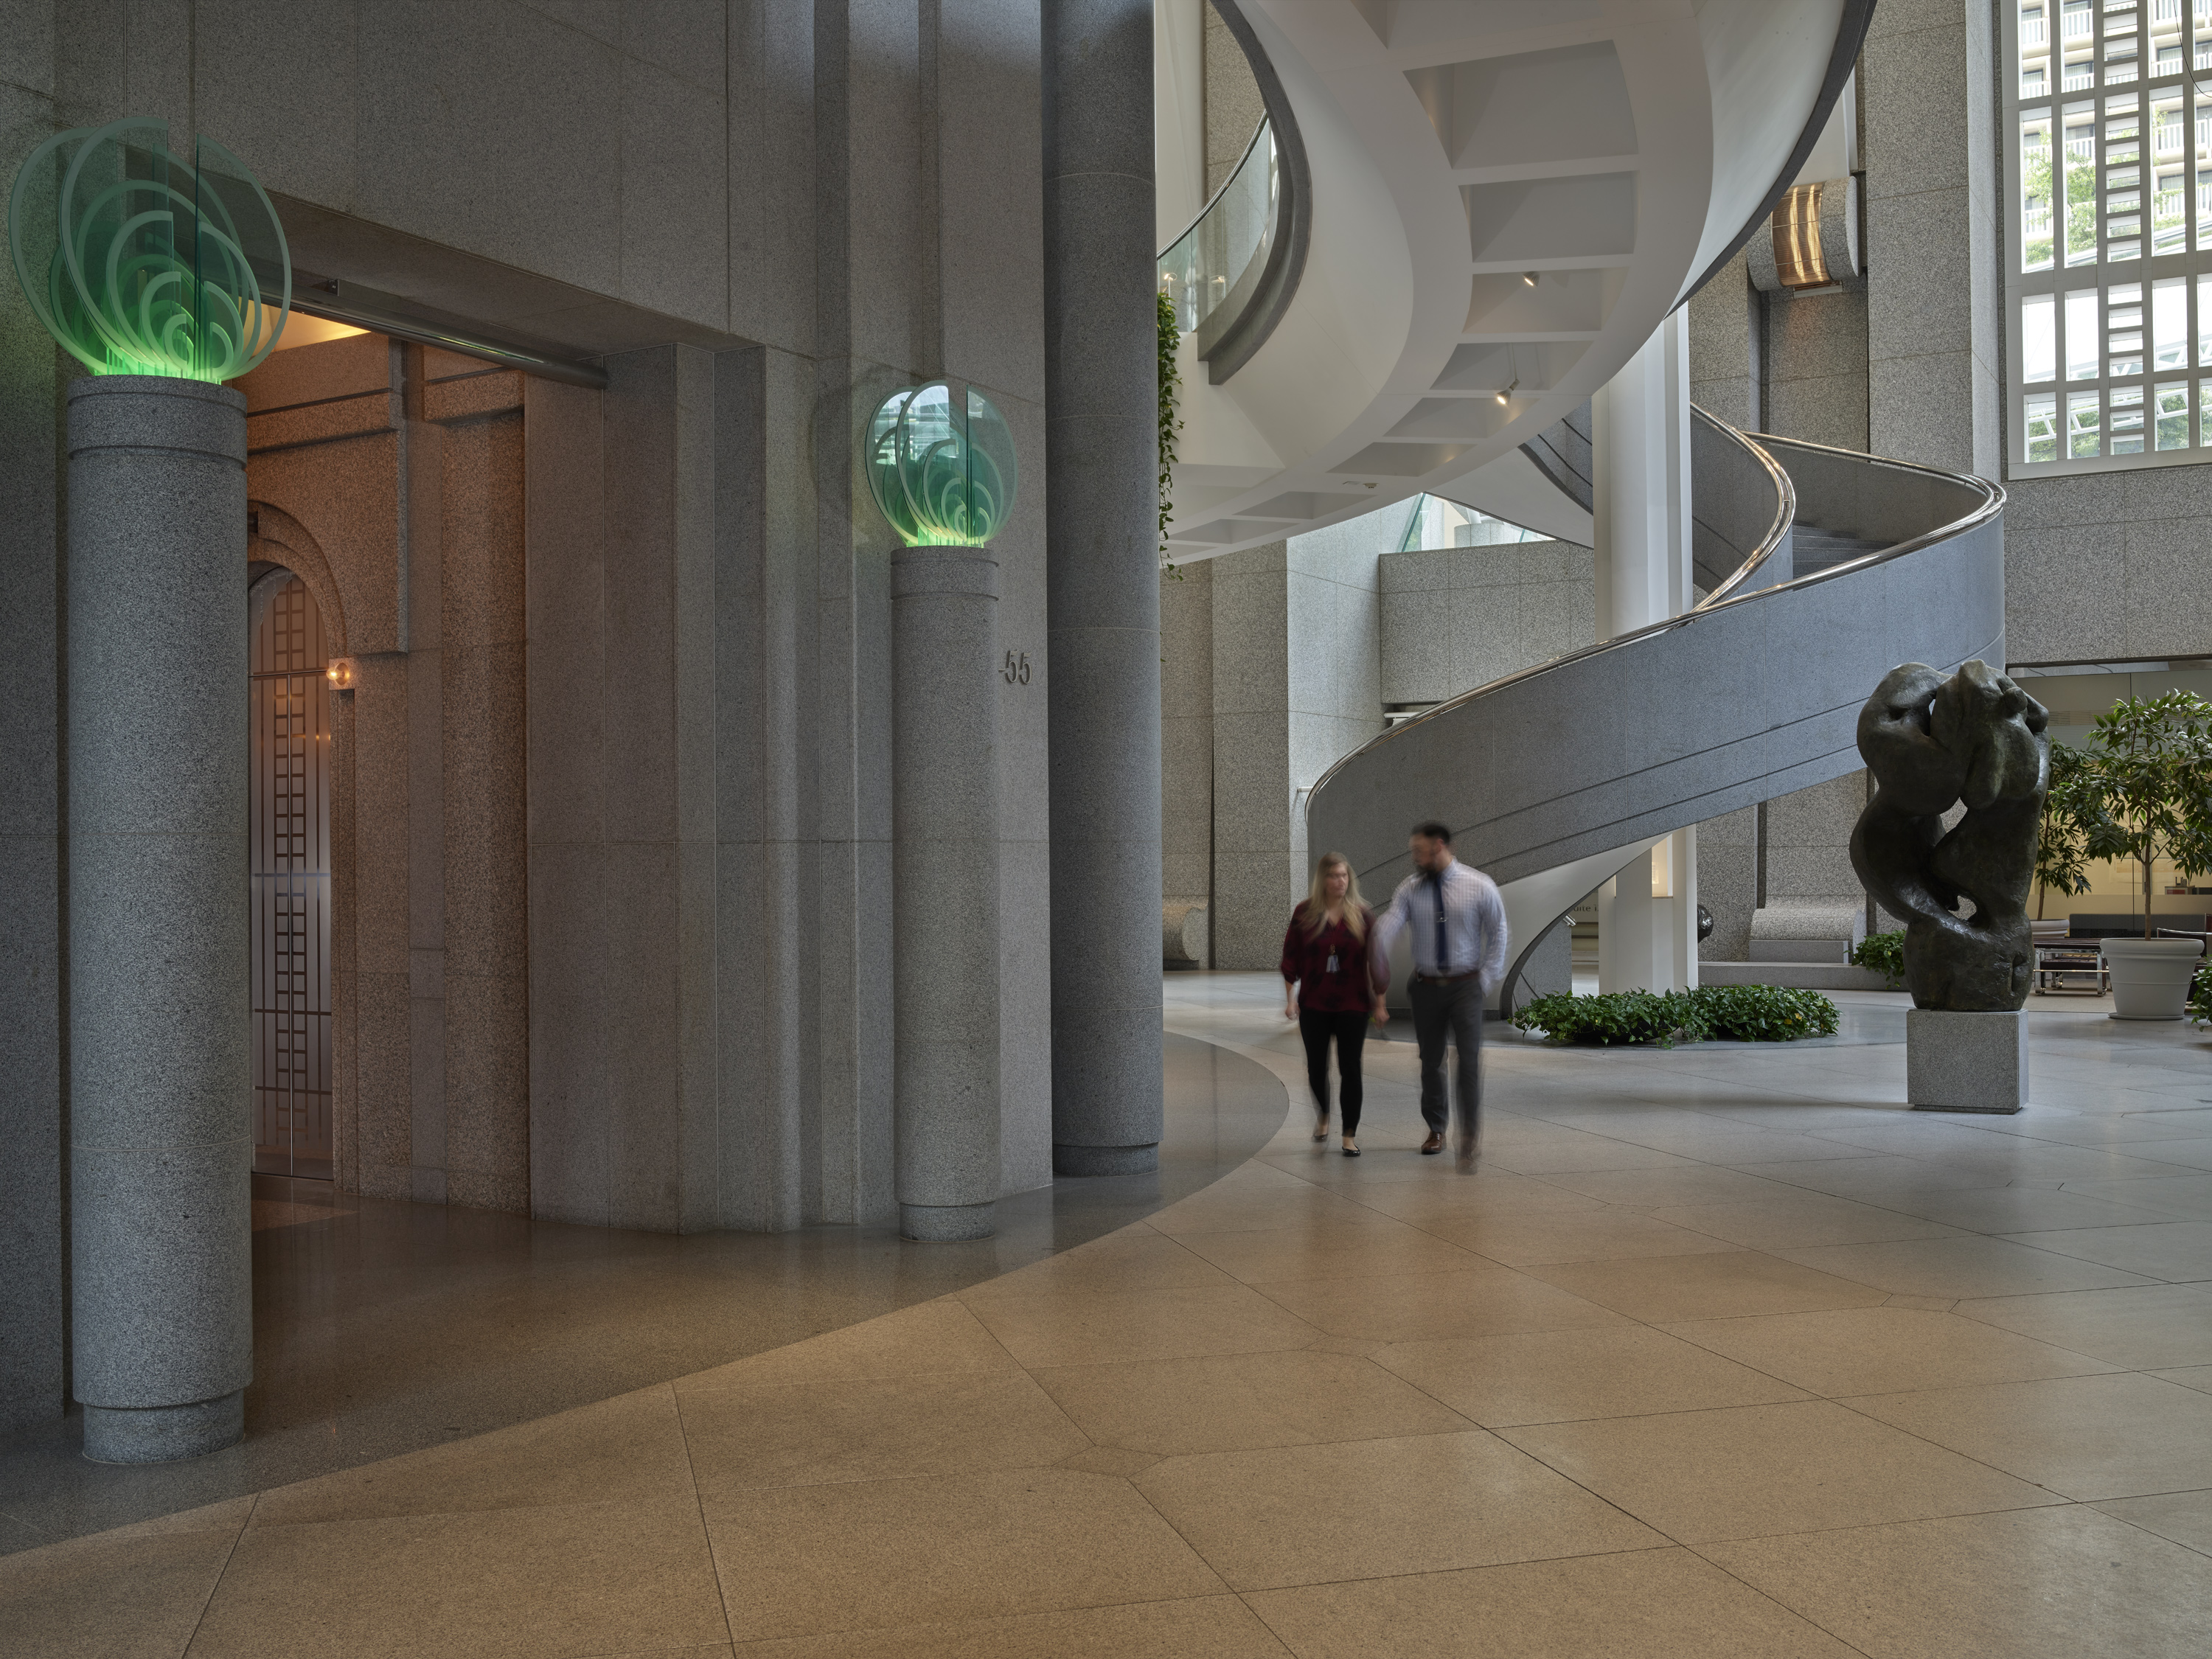
One Base Layer + One Light Painted layer assembled in Photoshop
Here’s the workflow: In my hand is the remote, set to Transmit on Channel 1 to be received at the camera by the 2nd remote on Channel 1 to fire the ALPA Silex remotely. The 3rd remote is connected to the Flash Sync of the Silex, set to Channel 5 and fires the B10 that is in my hand which is also set to Channel 5. Depending on the needs of the shot, I can program the Silex to fire multiple exposures onto the same image. To maintain a consistent ambient exposure, break your ambient exposure into the proper fraction to build the same exposure. (example: 1 second ambient = 3x 1/3 second exposures for a 3-segment light paint)
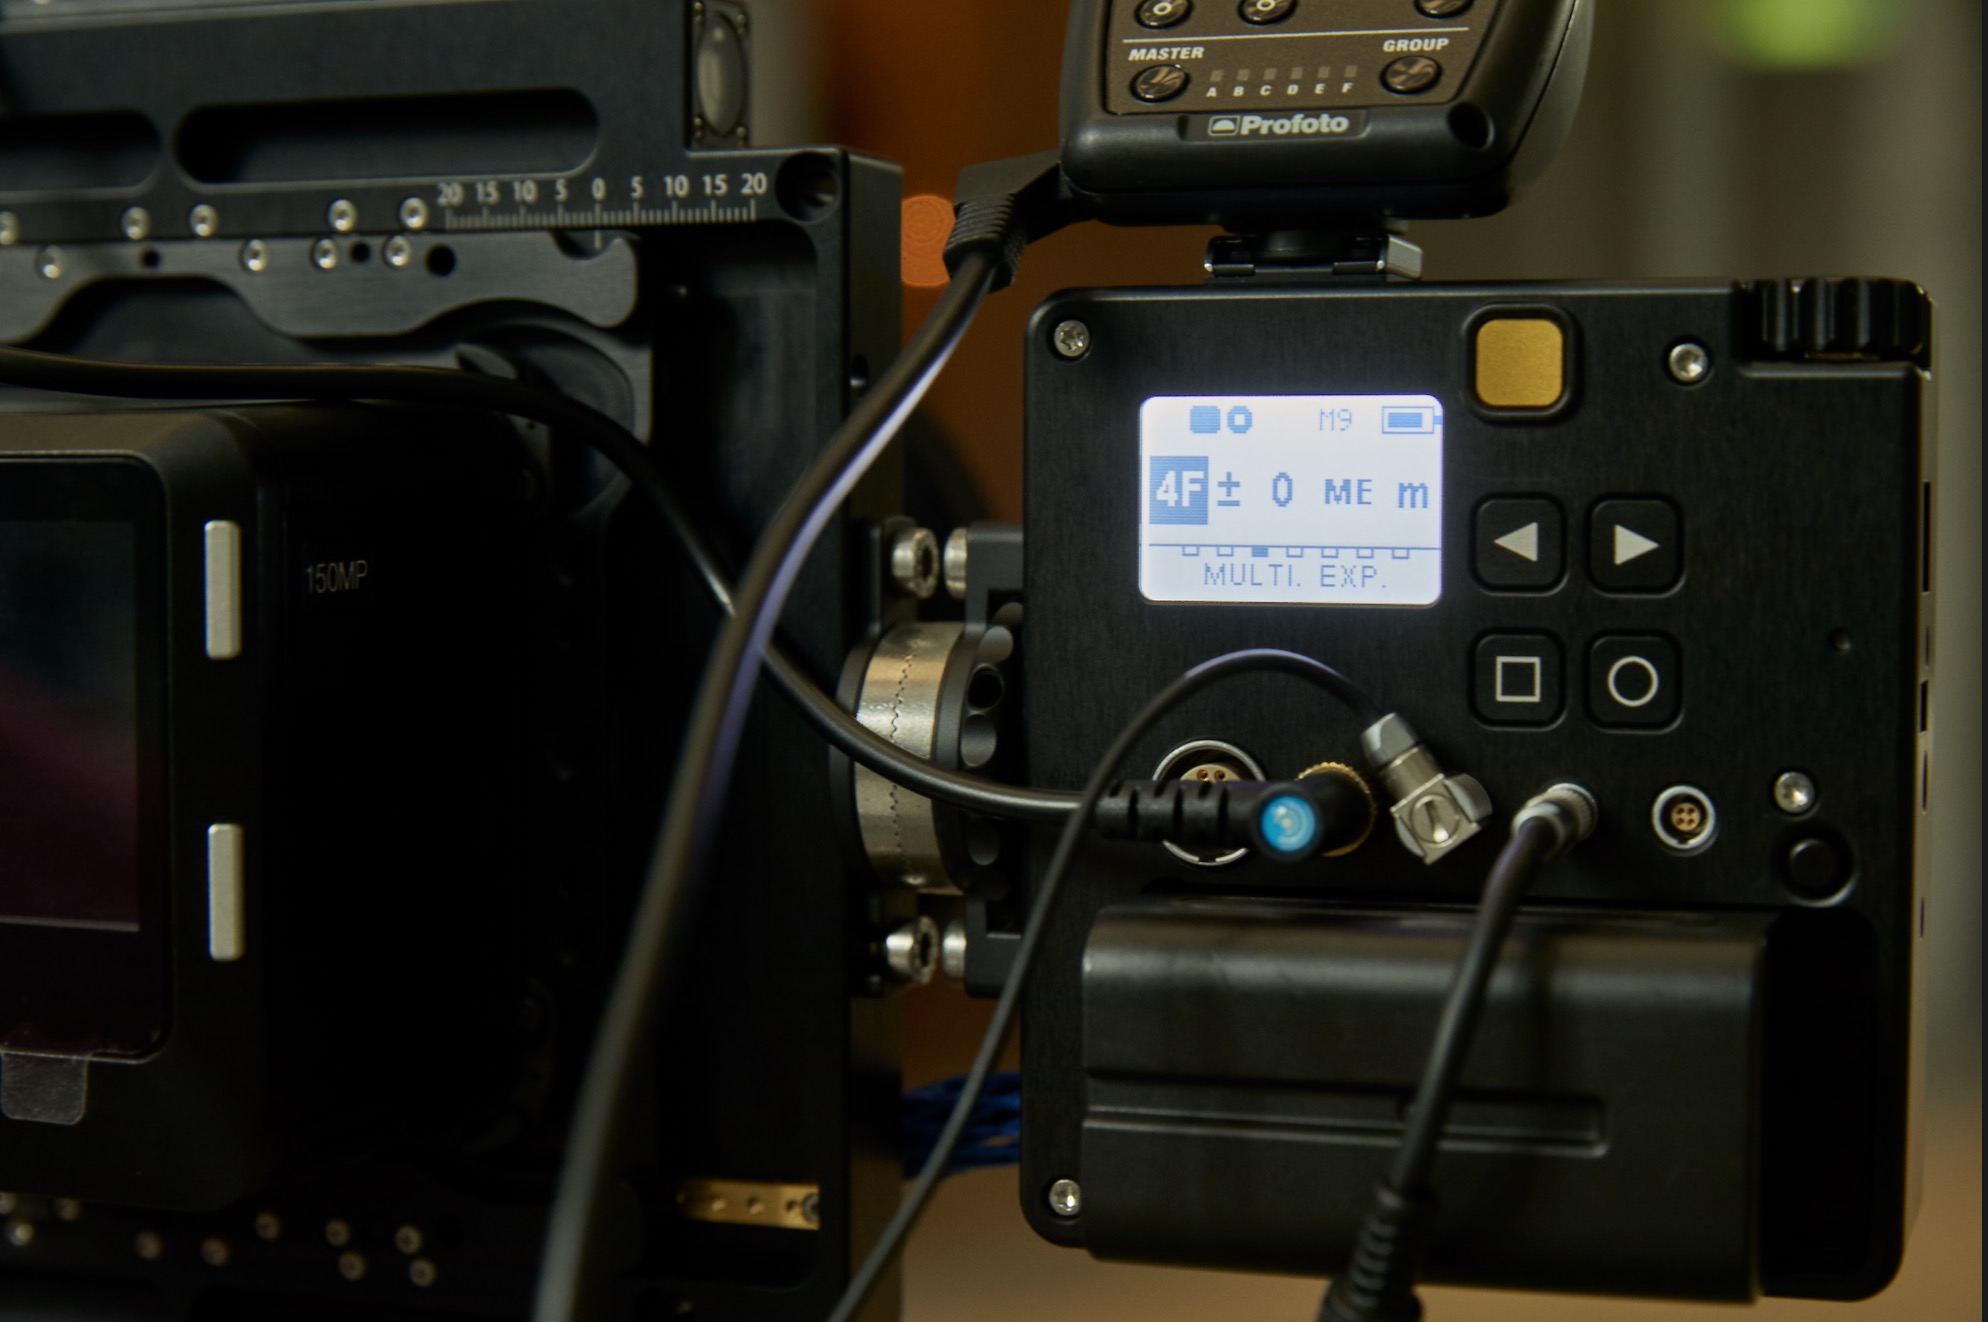
Silex displaying being ready for a 9-shot multi-exposure
Having been kicked out of the venue I planned to demonstrate this workflow, we moved on to a smaller office interior where we were nearly certain we would not be escorted out by security.
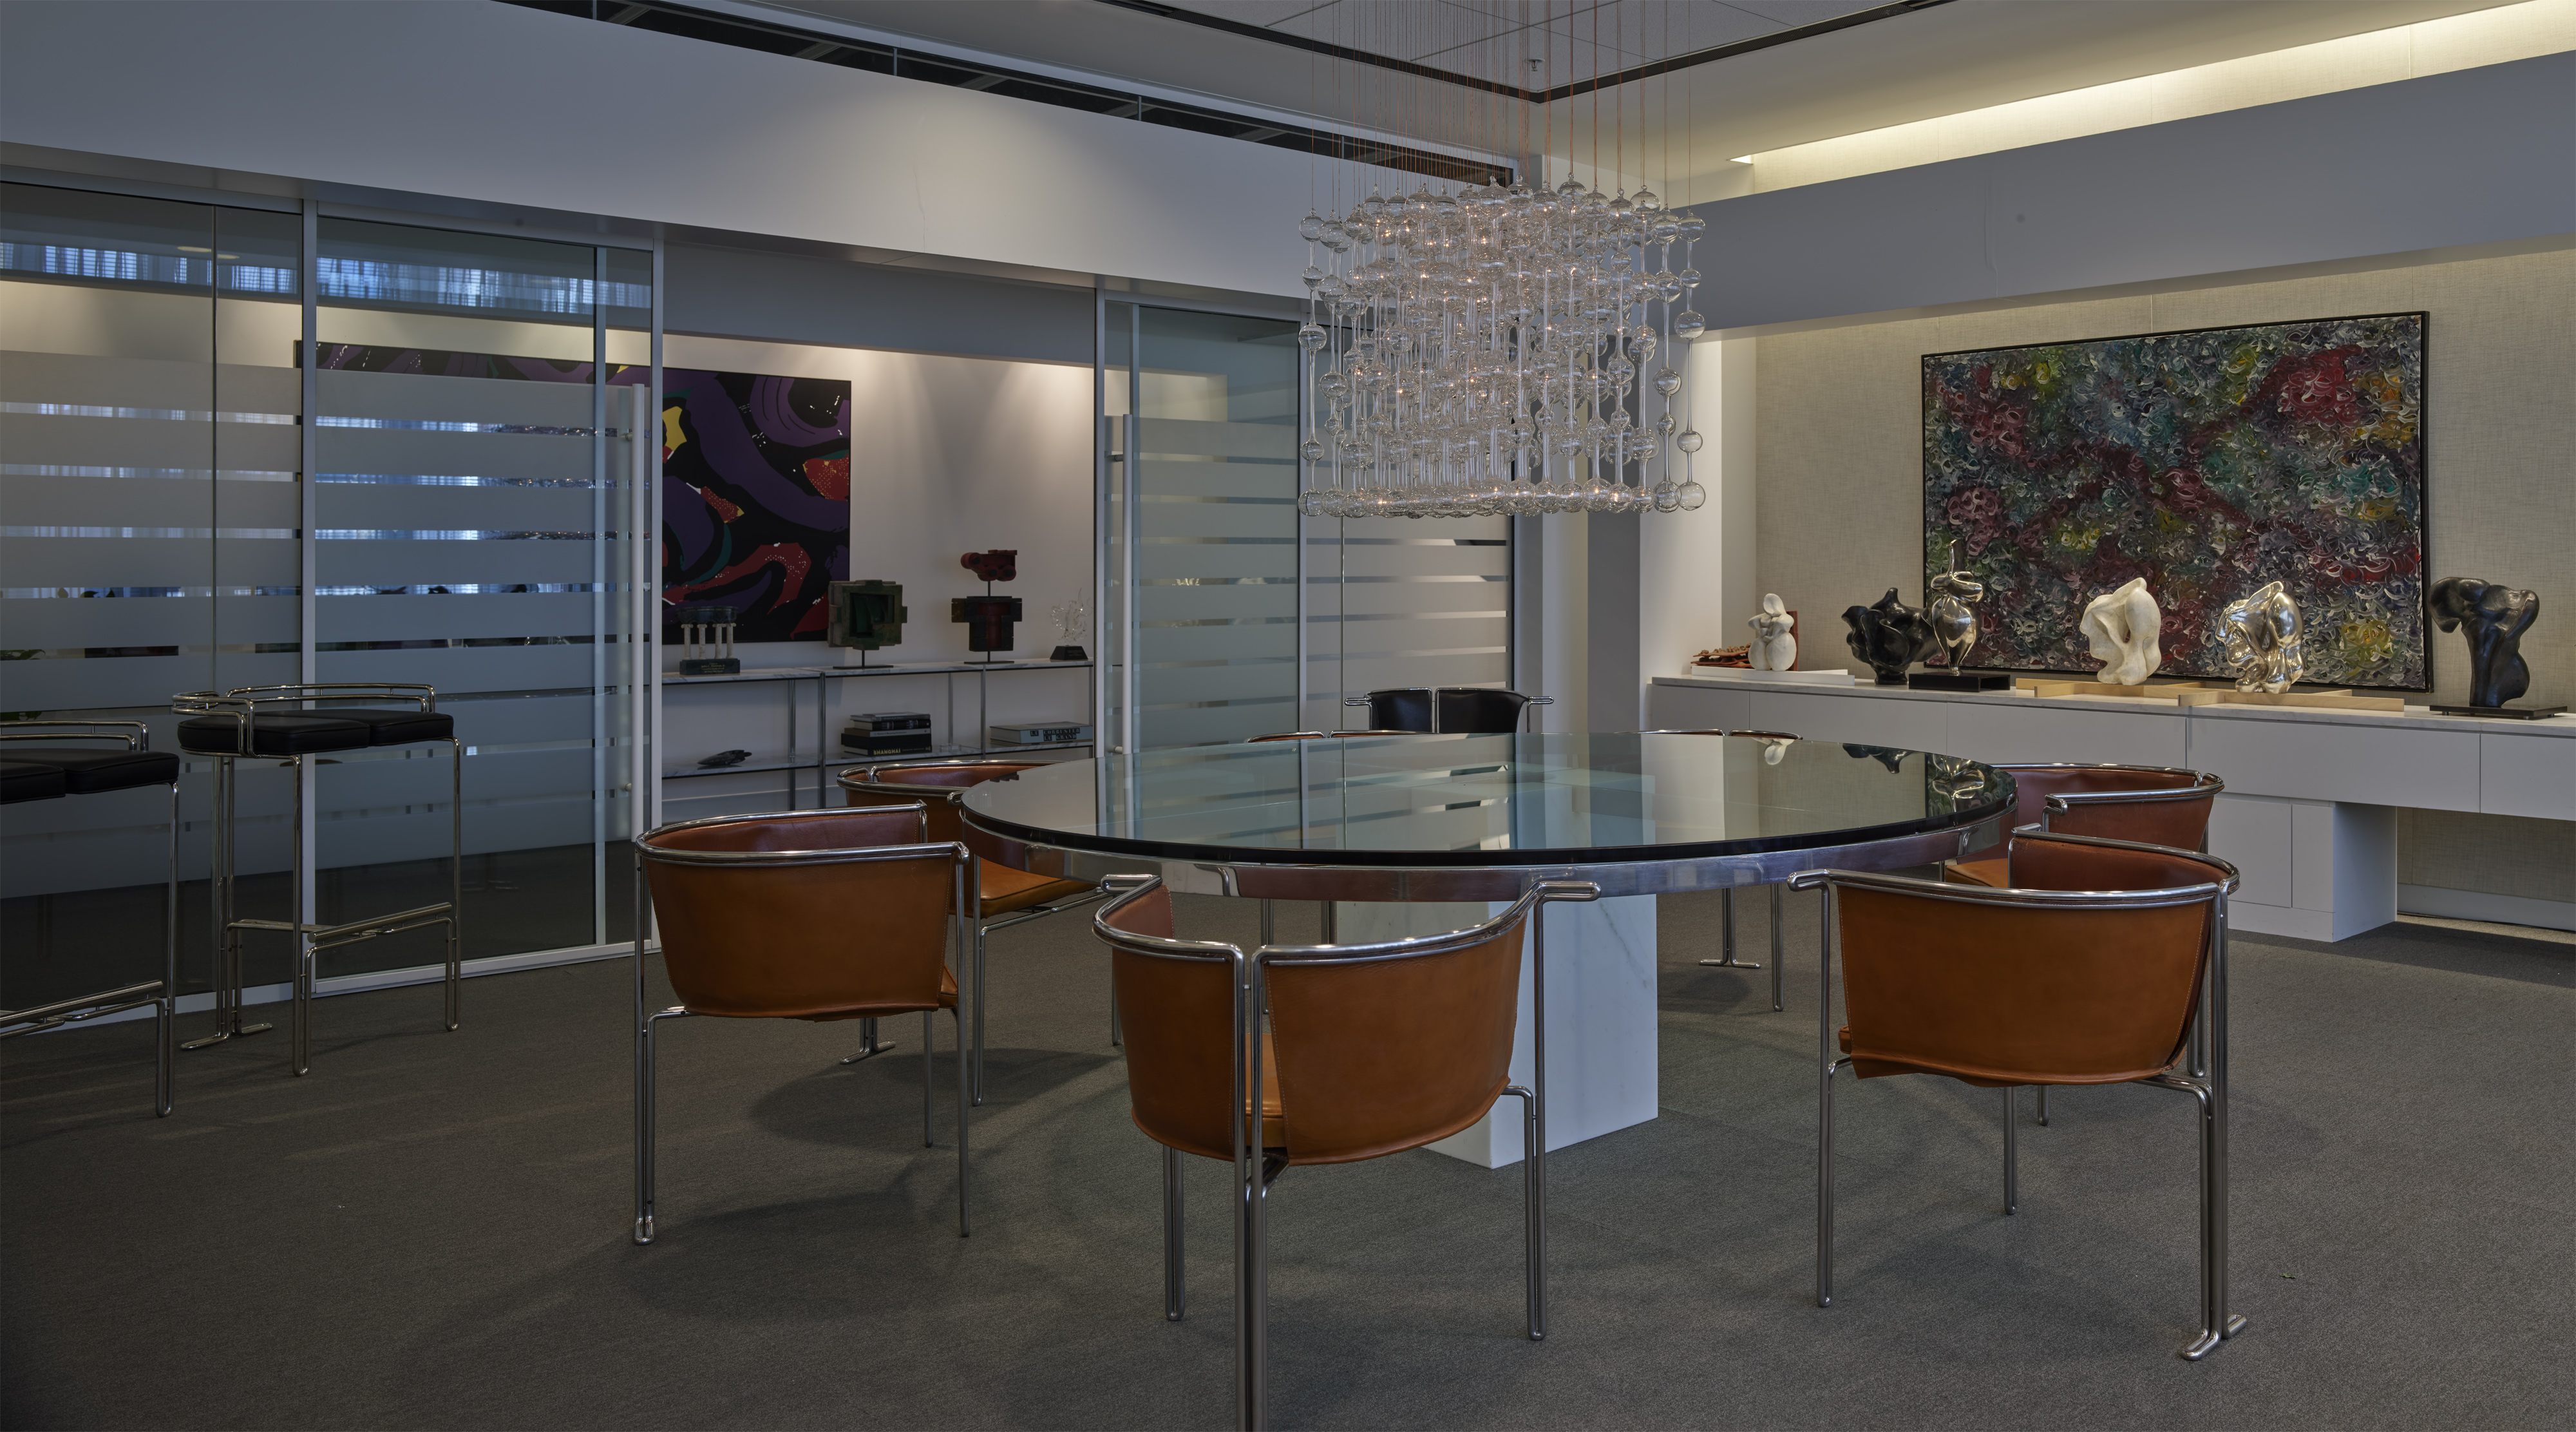
Conference Room Base Layer
Like the last image, this view was shot with the 50mm Rodenstock HR, but this time with a mild stitch of 15mm used on the positive X-axis. Even with that small movement, the resulting file size was a 202 megapixel file, all the more reason to limit how many layers I made use of in light painting.
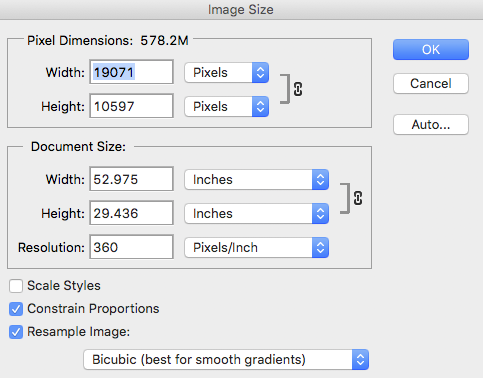
202 Megapixel Stitch from IQ4-150
Shooting with the Silex allows you to paint in logical groups, so that you have a single layer for a section of the image. The goal here was to illuminate the chairs, give some vibrancy to the chrome, give some dimension to the sculptures and highlight the chandelier that was maddeningly tied to the same dimmer circuit as the surrounding lights.
To accomplish the finished shot, there were actually 26 elements (or portions of elements) that I painted with light:
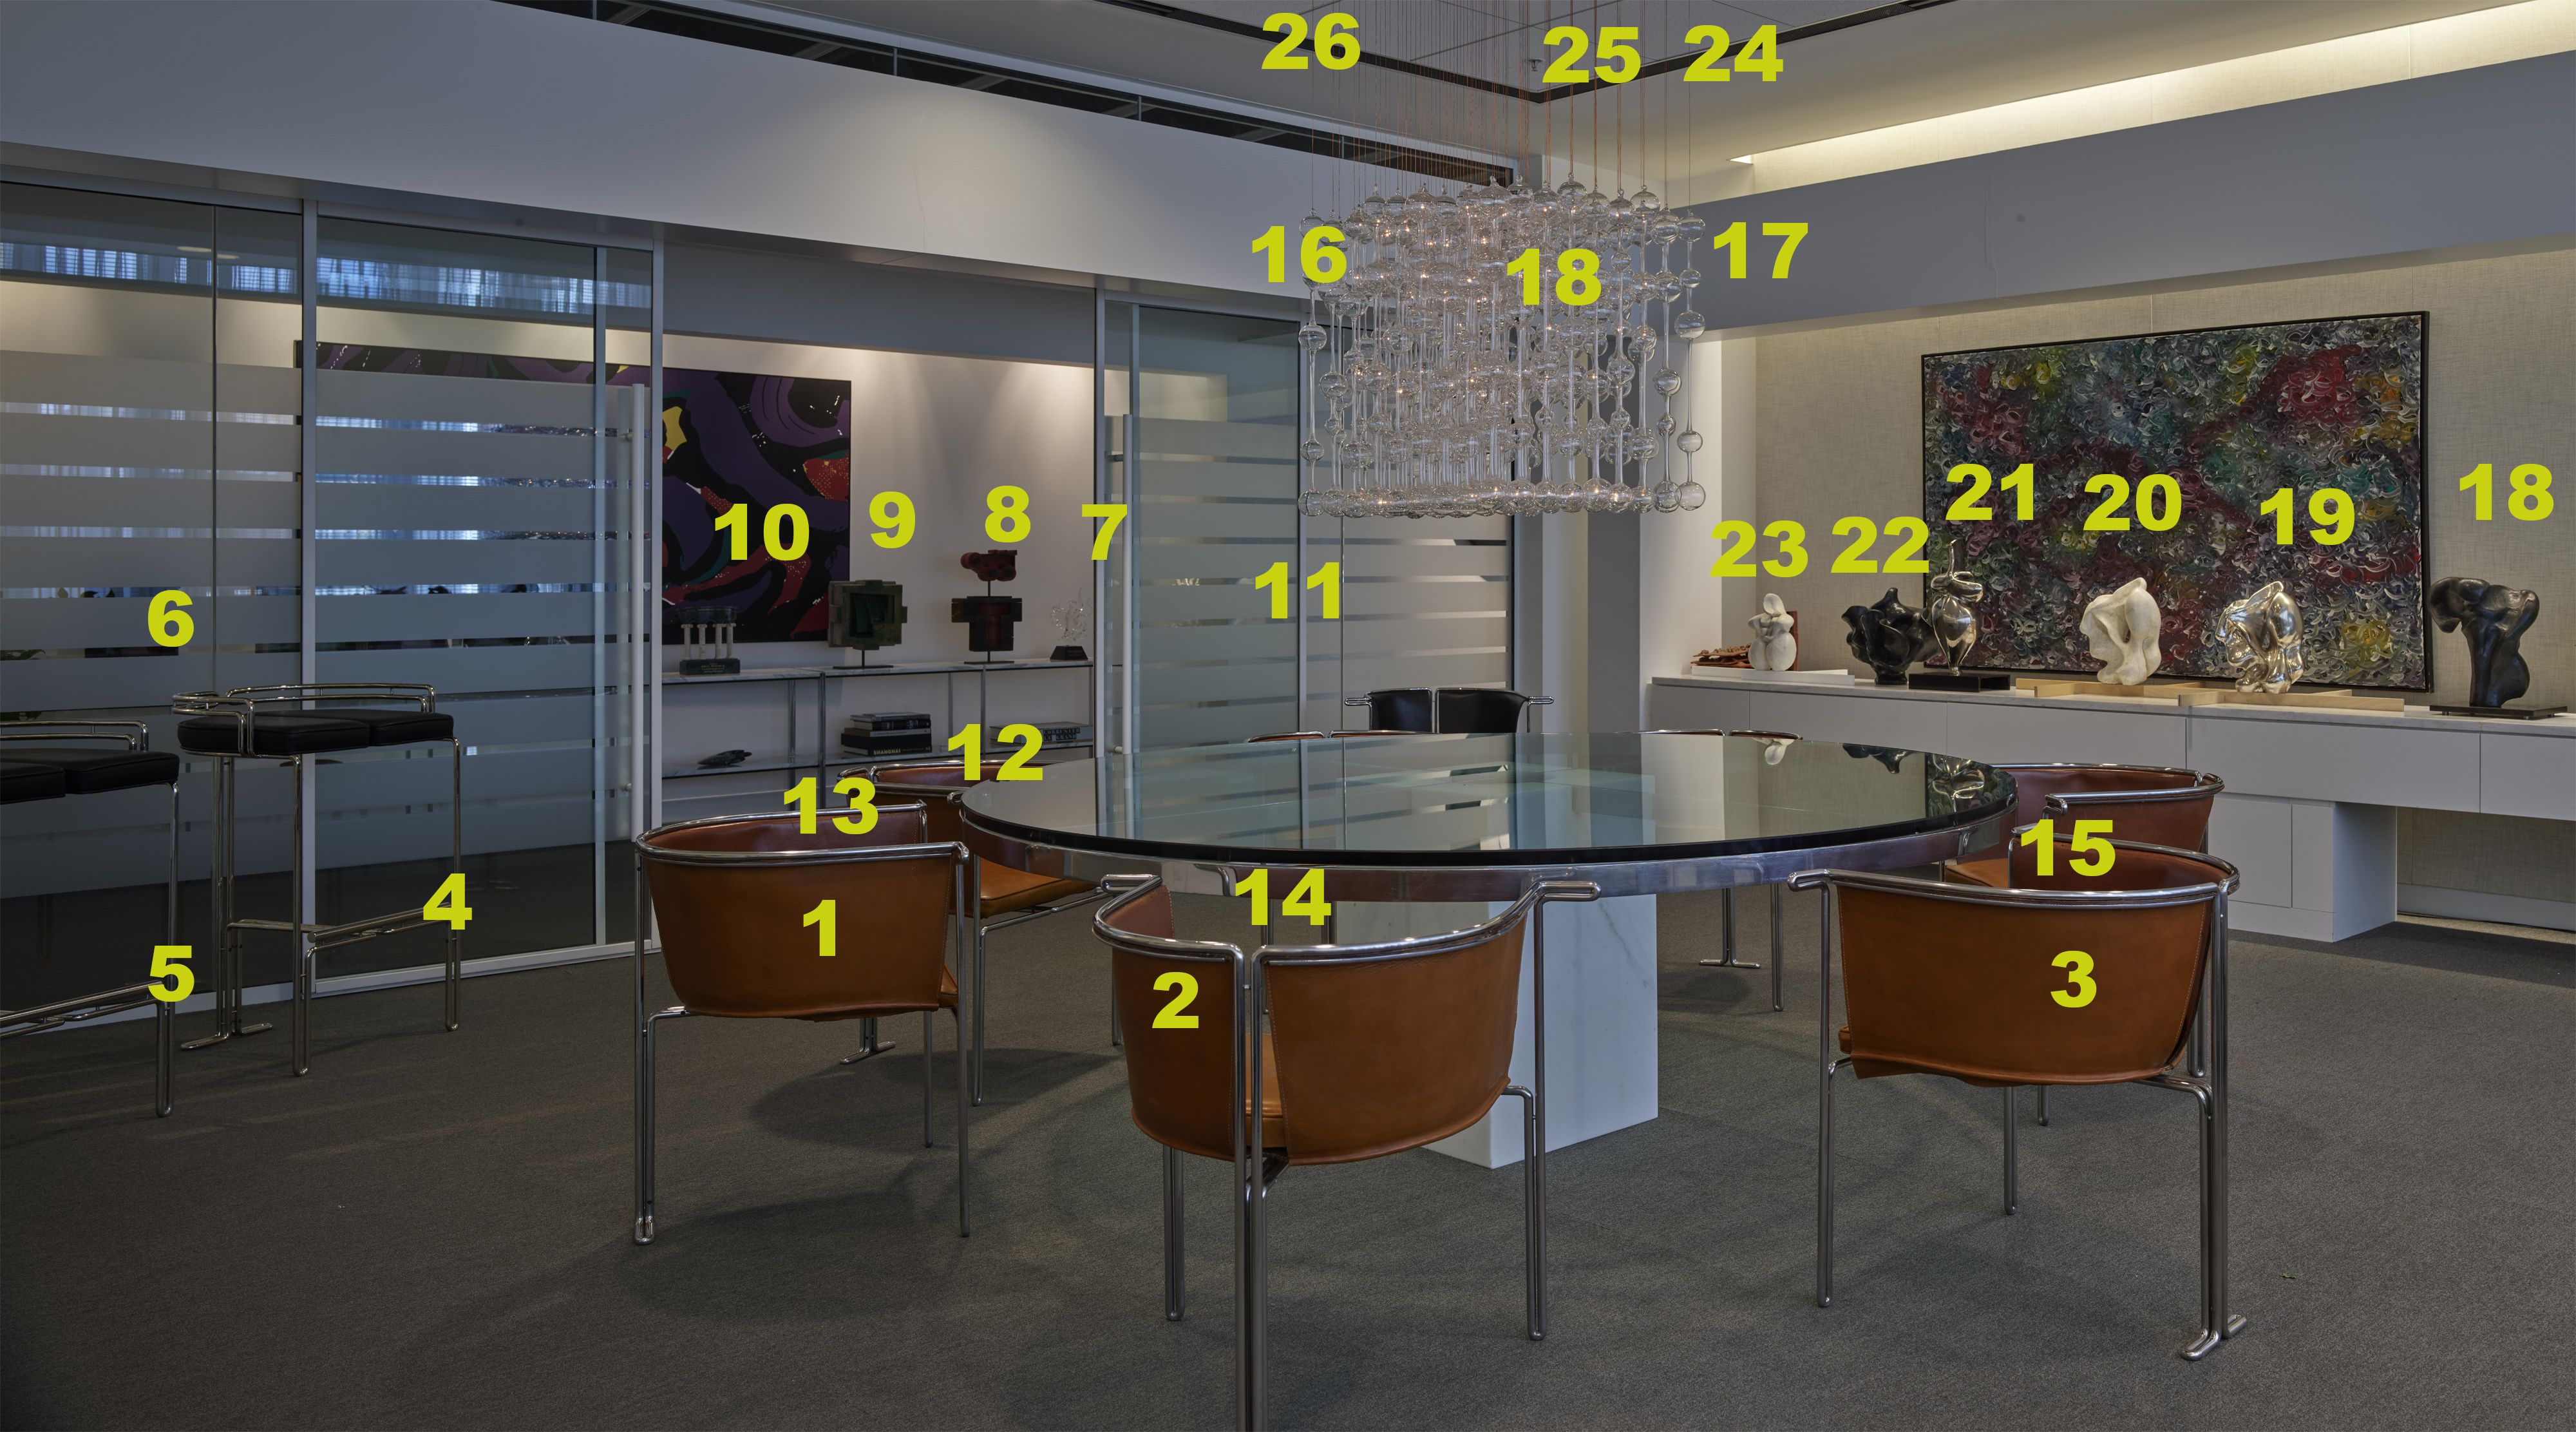
26 light painted elements using B10 + Umbrella and B10 + Snoot
but this is what my layers looked like in Photoshop:
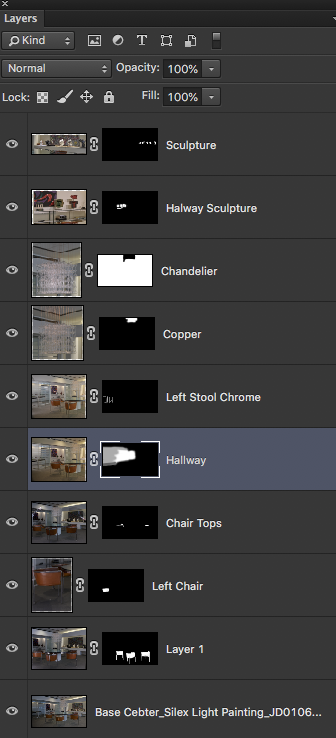
The chandelier, as an example, was captured as a single shot, with 3 component parts to it.
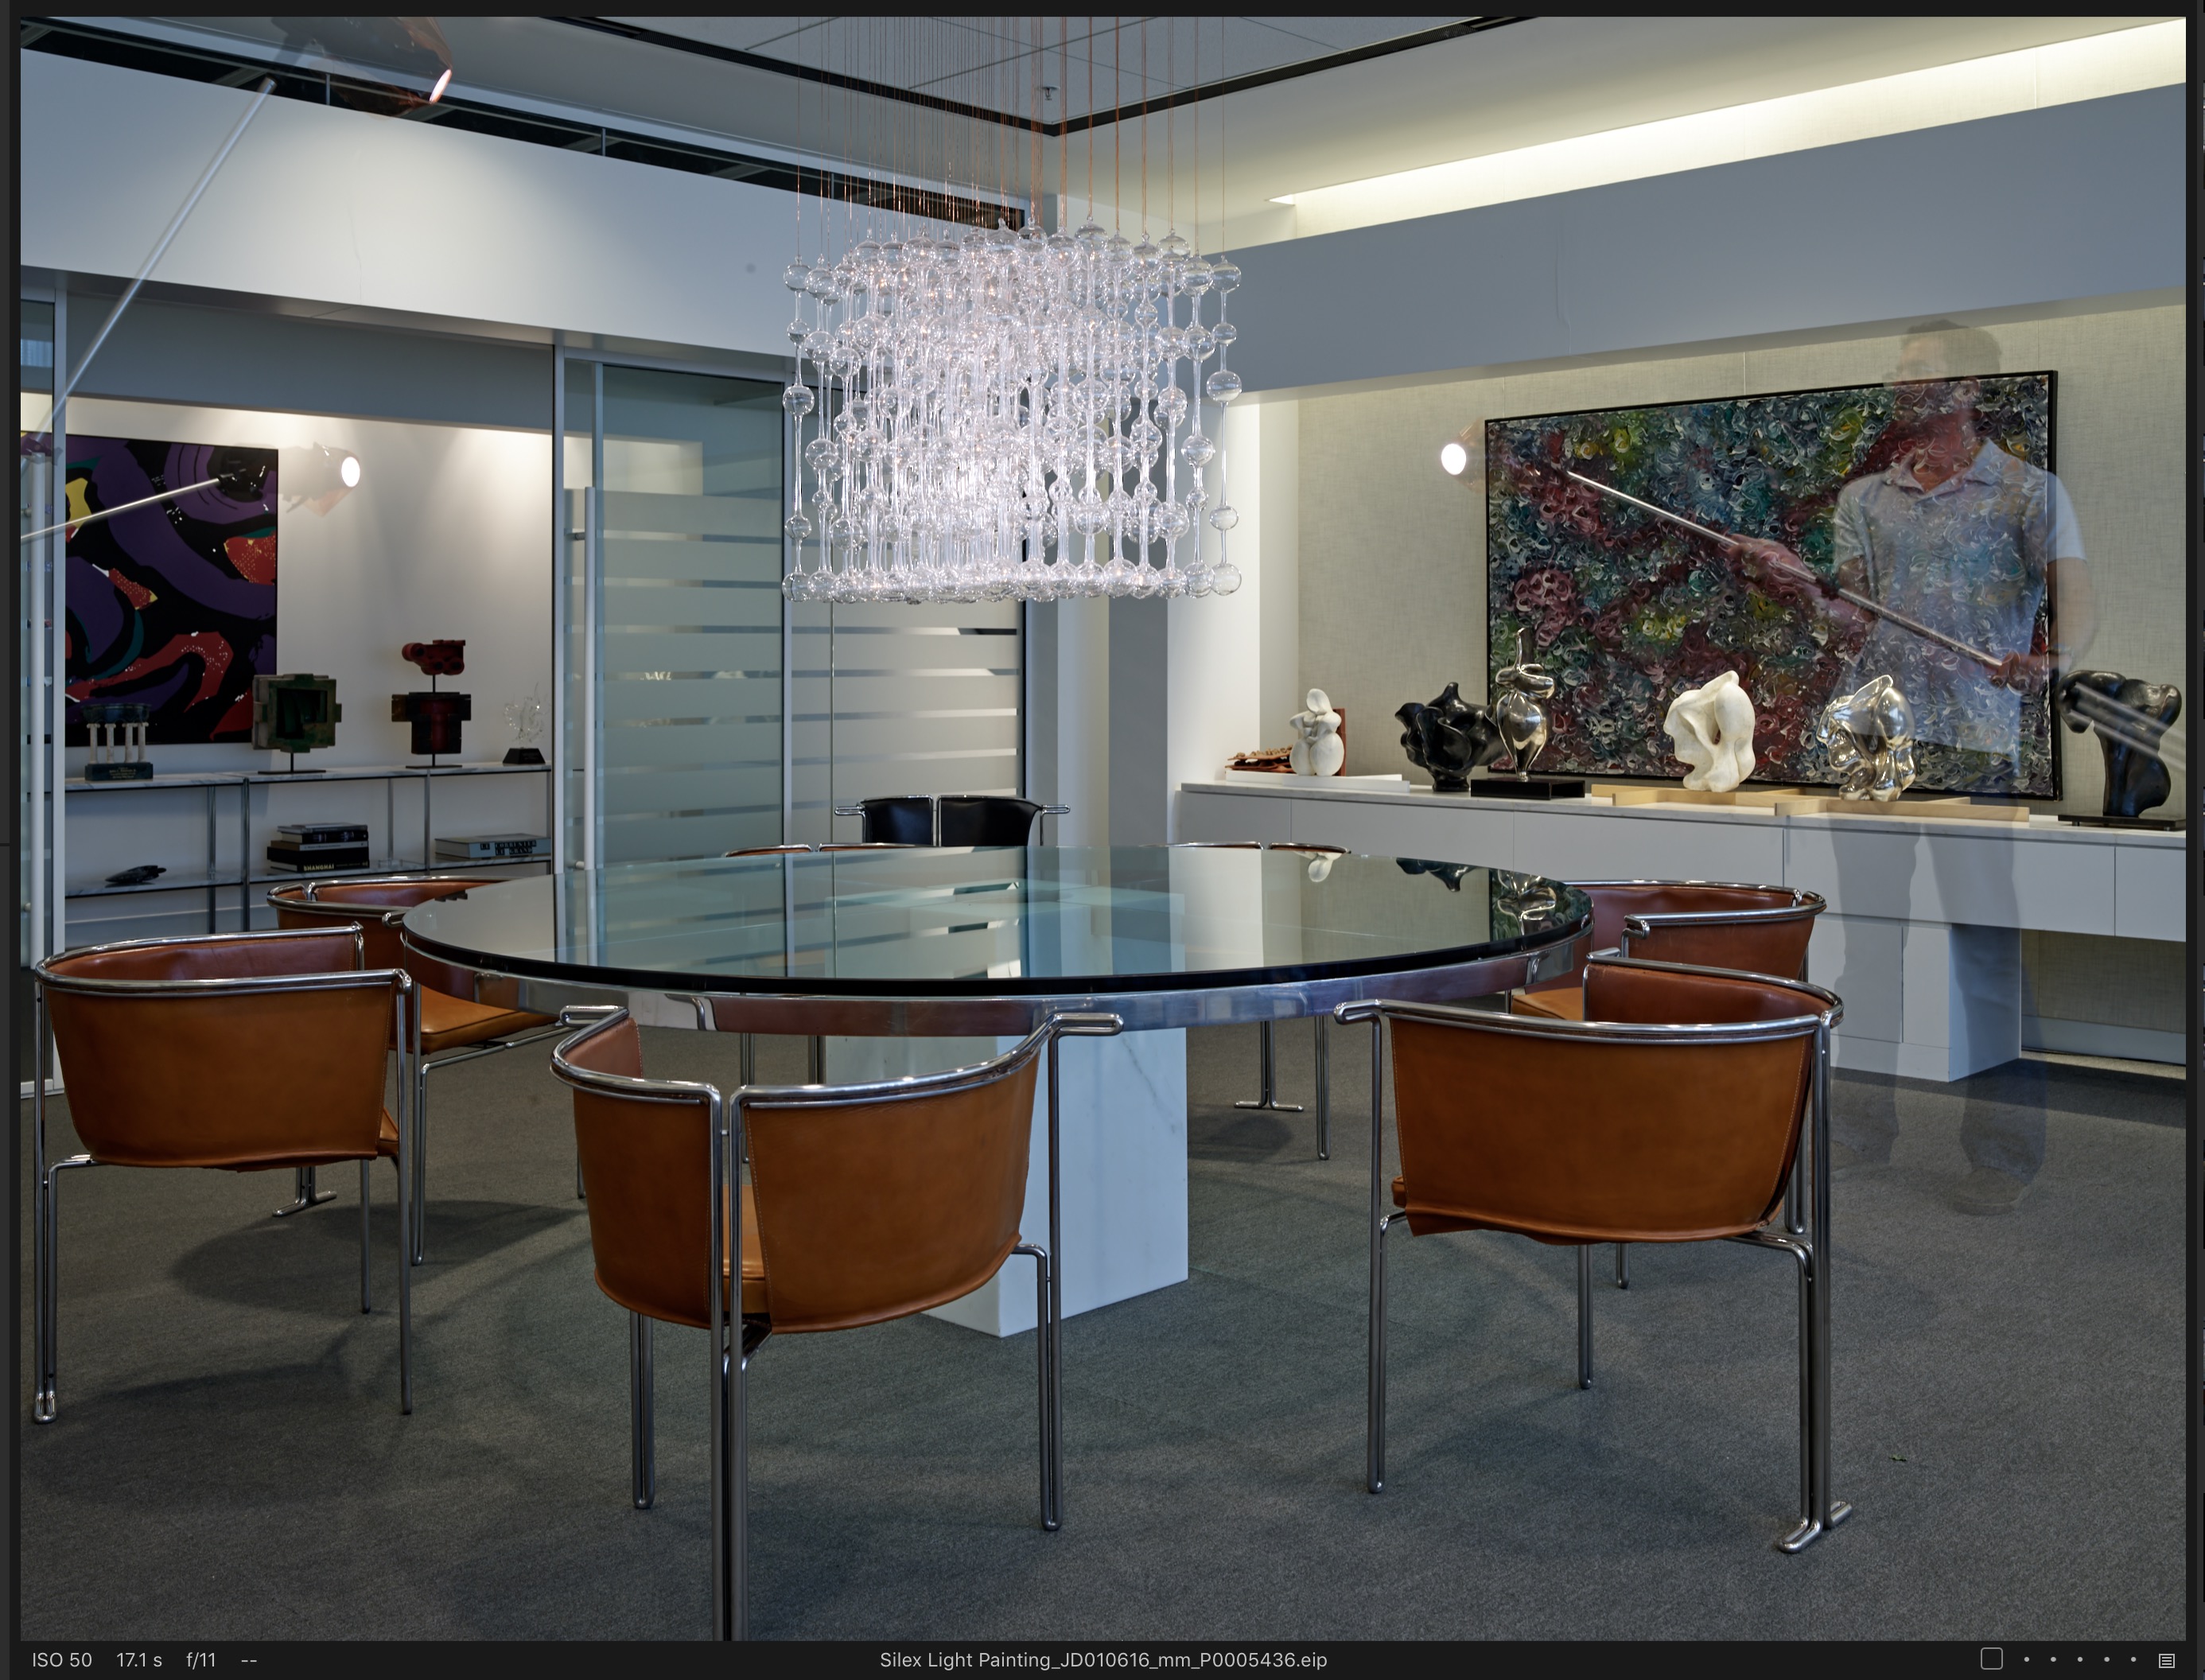
3-shot Light Painting into a single frame
Not only more efficient than capturing 26, 150mp images that would need to be layered individually in Photoshop, but the ability to pop 3 exposures into a single frame reduces the complexity of retouching if captured individually, as the mixing of the light sources appears instantly natural, because it is as natural as 3 spot lights combining effect into a normally shot image.
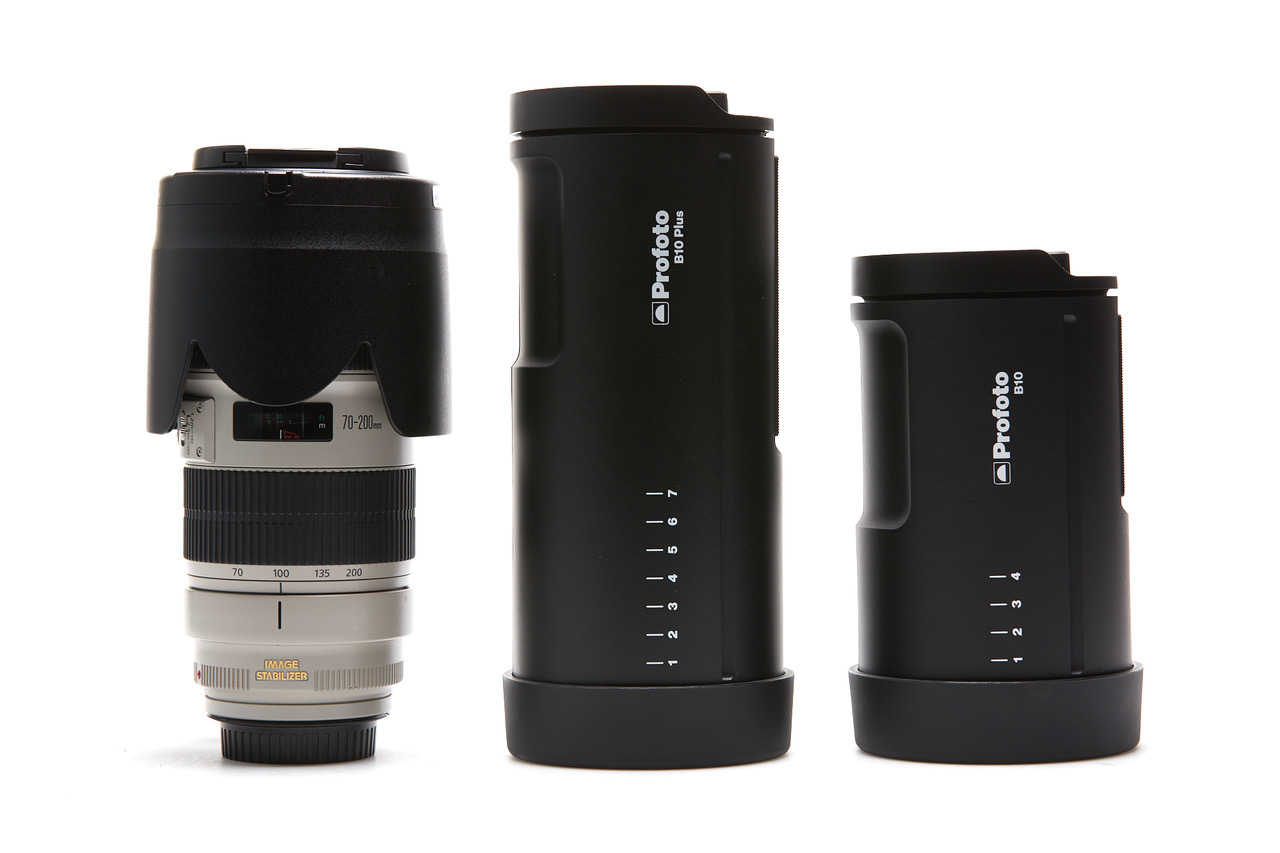
Size Comparison – Canon 70-200 vs B10 Plus (500w/s) vs B10 (250w/s)
This technique can be also used to build exposure while using the relatively small Profoto B10 head. On it’s own, through a modifier, out of frame and rated at only 250w/s this little light doesn’t have enough oomph* to light your entire f/11 scene, but by leaving it on a stand and by layering and building exposures, it provides perfect utility. With its diminutive size, it can always ride in your camera kit, even when you don’t plan on needing additional light in your shot that day. (*while rated at 250 w/s, the B10 outputs light within a 1/3rd of a stop in output to the much larger B1x)
Building exposures onto a single frame is not new, but currently with a Copal shutter, the Kapture Group device that allows that workflow is aged, unavailable to purchase new and limited to hands-on use at the camera while blazing extra shots onto Copal-0 shutters. The Phase One XF can easily be fired remotely, but lacks view/technical camera movements and lacks the ability for multiple exposures.
With the inability to purchase technical camera lenses in Copal-0 mechanical shutters, and with the purely Electronic Shutter options available on 100mp & 150mp Phase One digital backs unable to sync strobe at shutter speeds faster than ~1/2 second, the ALPA Silex Mk II is offers a unique workflow solution in this and the coming age of technical camera image making.